TA7MNA QMX+ Internal Battery & Audio Board Kit
from $50.00
In Stock NOW ~ Xiegu QRP Radio’s and Radioddity Antenna’s
Upgrade your QRP Labs QMX+ with an integrated internal battery system and amplified speaker audio!
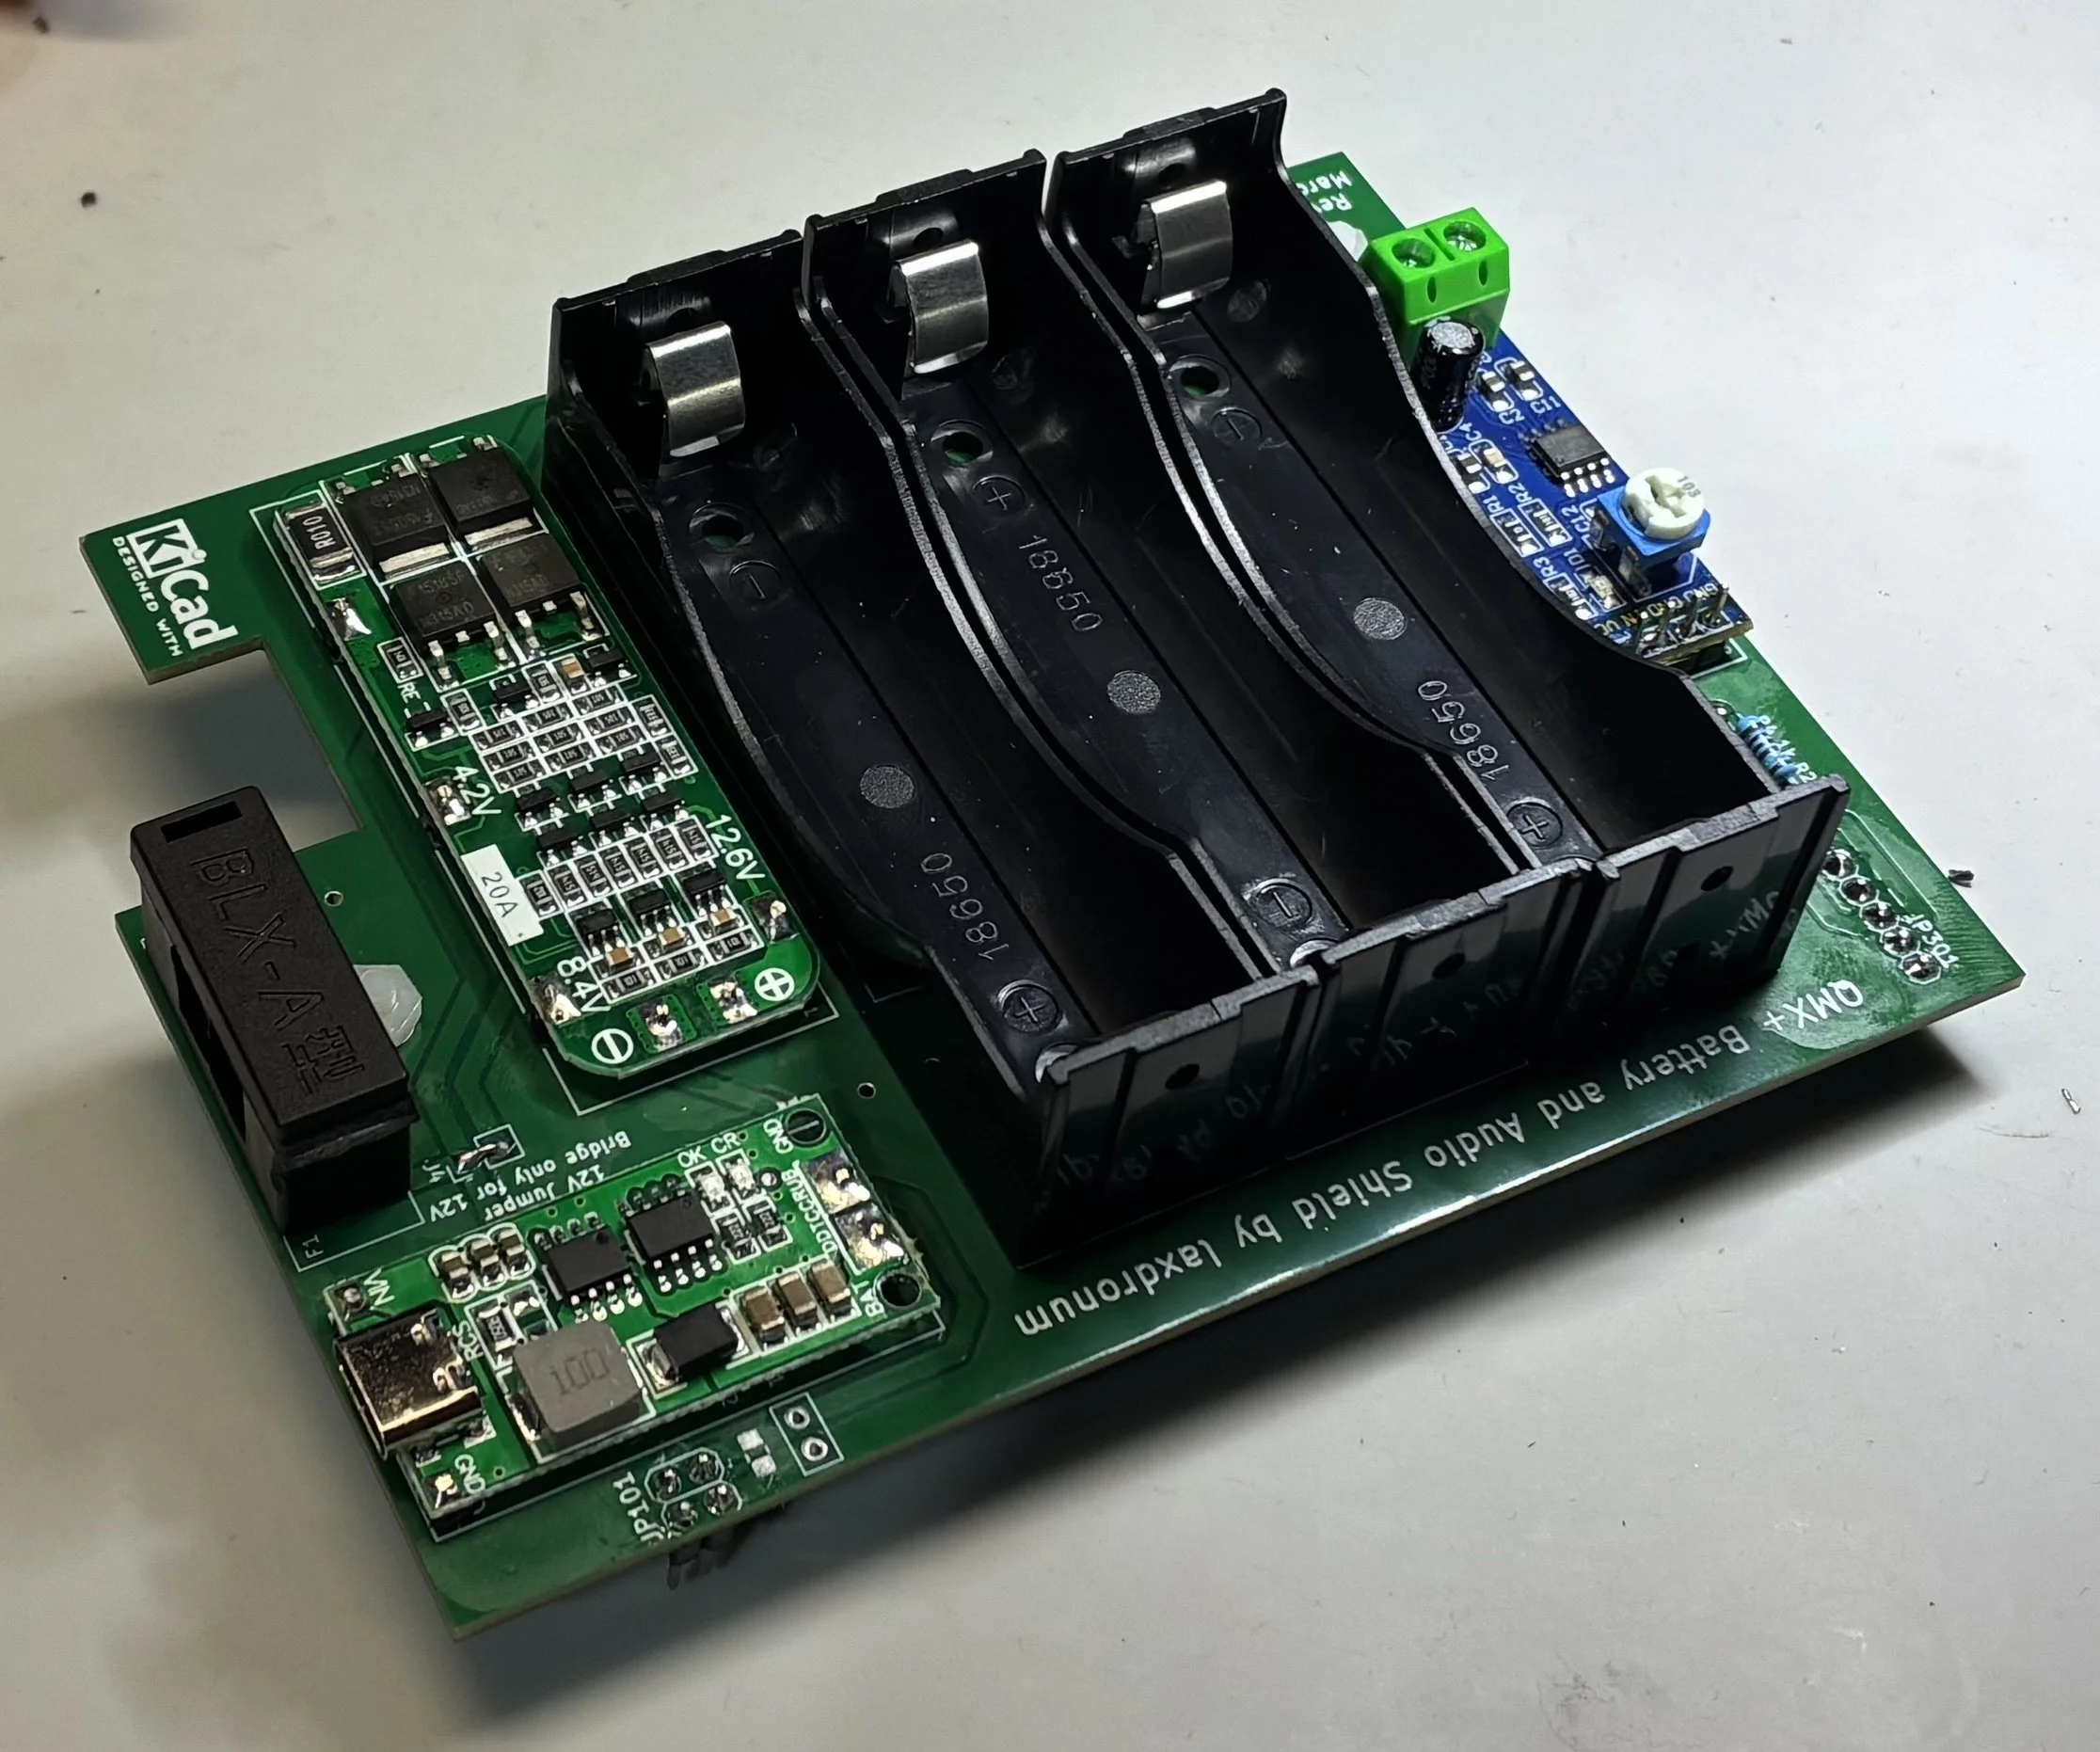
The QMX+ Internal Battery & Audio Board Builder Kit is based on the open-source QMX+ Battery & Audio Board project designed by TA7MNA (Mustafa Necati Annakkaya). The board mounts directly above the QMX+ main PCB and provides a compact way to add internal battery power, charging circuitry, battery management, and amplified speaker audio inside your QMX+.
CQ Homestead Supply packages the project as a convenient builder kit, eliminating the need to individually source the various supporting boards and installation components.
Two separate versions are available:
12V QMX+ Builder Kit Version 2
For QMX+ radios originally constructed for 12V operation.
9V QMX+ Builder Kit Version 2
For QMX+ radios originally constructed for 9V operation.
IMPORTANT: You must purchase the version that matches the voltage configuration of your QMX+. The 12V battery board must NOT be installed in a QMX+ configured for 9V operation. Applying the 12V battery system to a 9V-configured QMX+ can damage the radio.
Once assembled and properly installed, the Battery & Audio Board provides:
Internal rechargeable battery capability
Integrated battery management
USB Type-C battery charging
Internal amplified audio
Internal speaker capability
Direct mounting to the QMX+ main PCB
A compact installation designed specifically around the QMX+ platform
The result is a much more self-contained QMX+ that is especially convenient for portable operation, POTA, field use, emergency communications, and grab-and-go QRP operation.
Our 0% kit is intended for builders who want to complete this modification themselves without having to track down the various small boards and installation components individually.
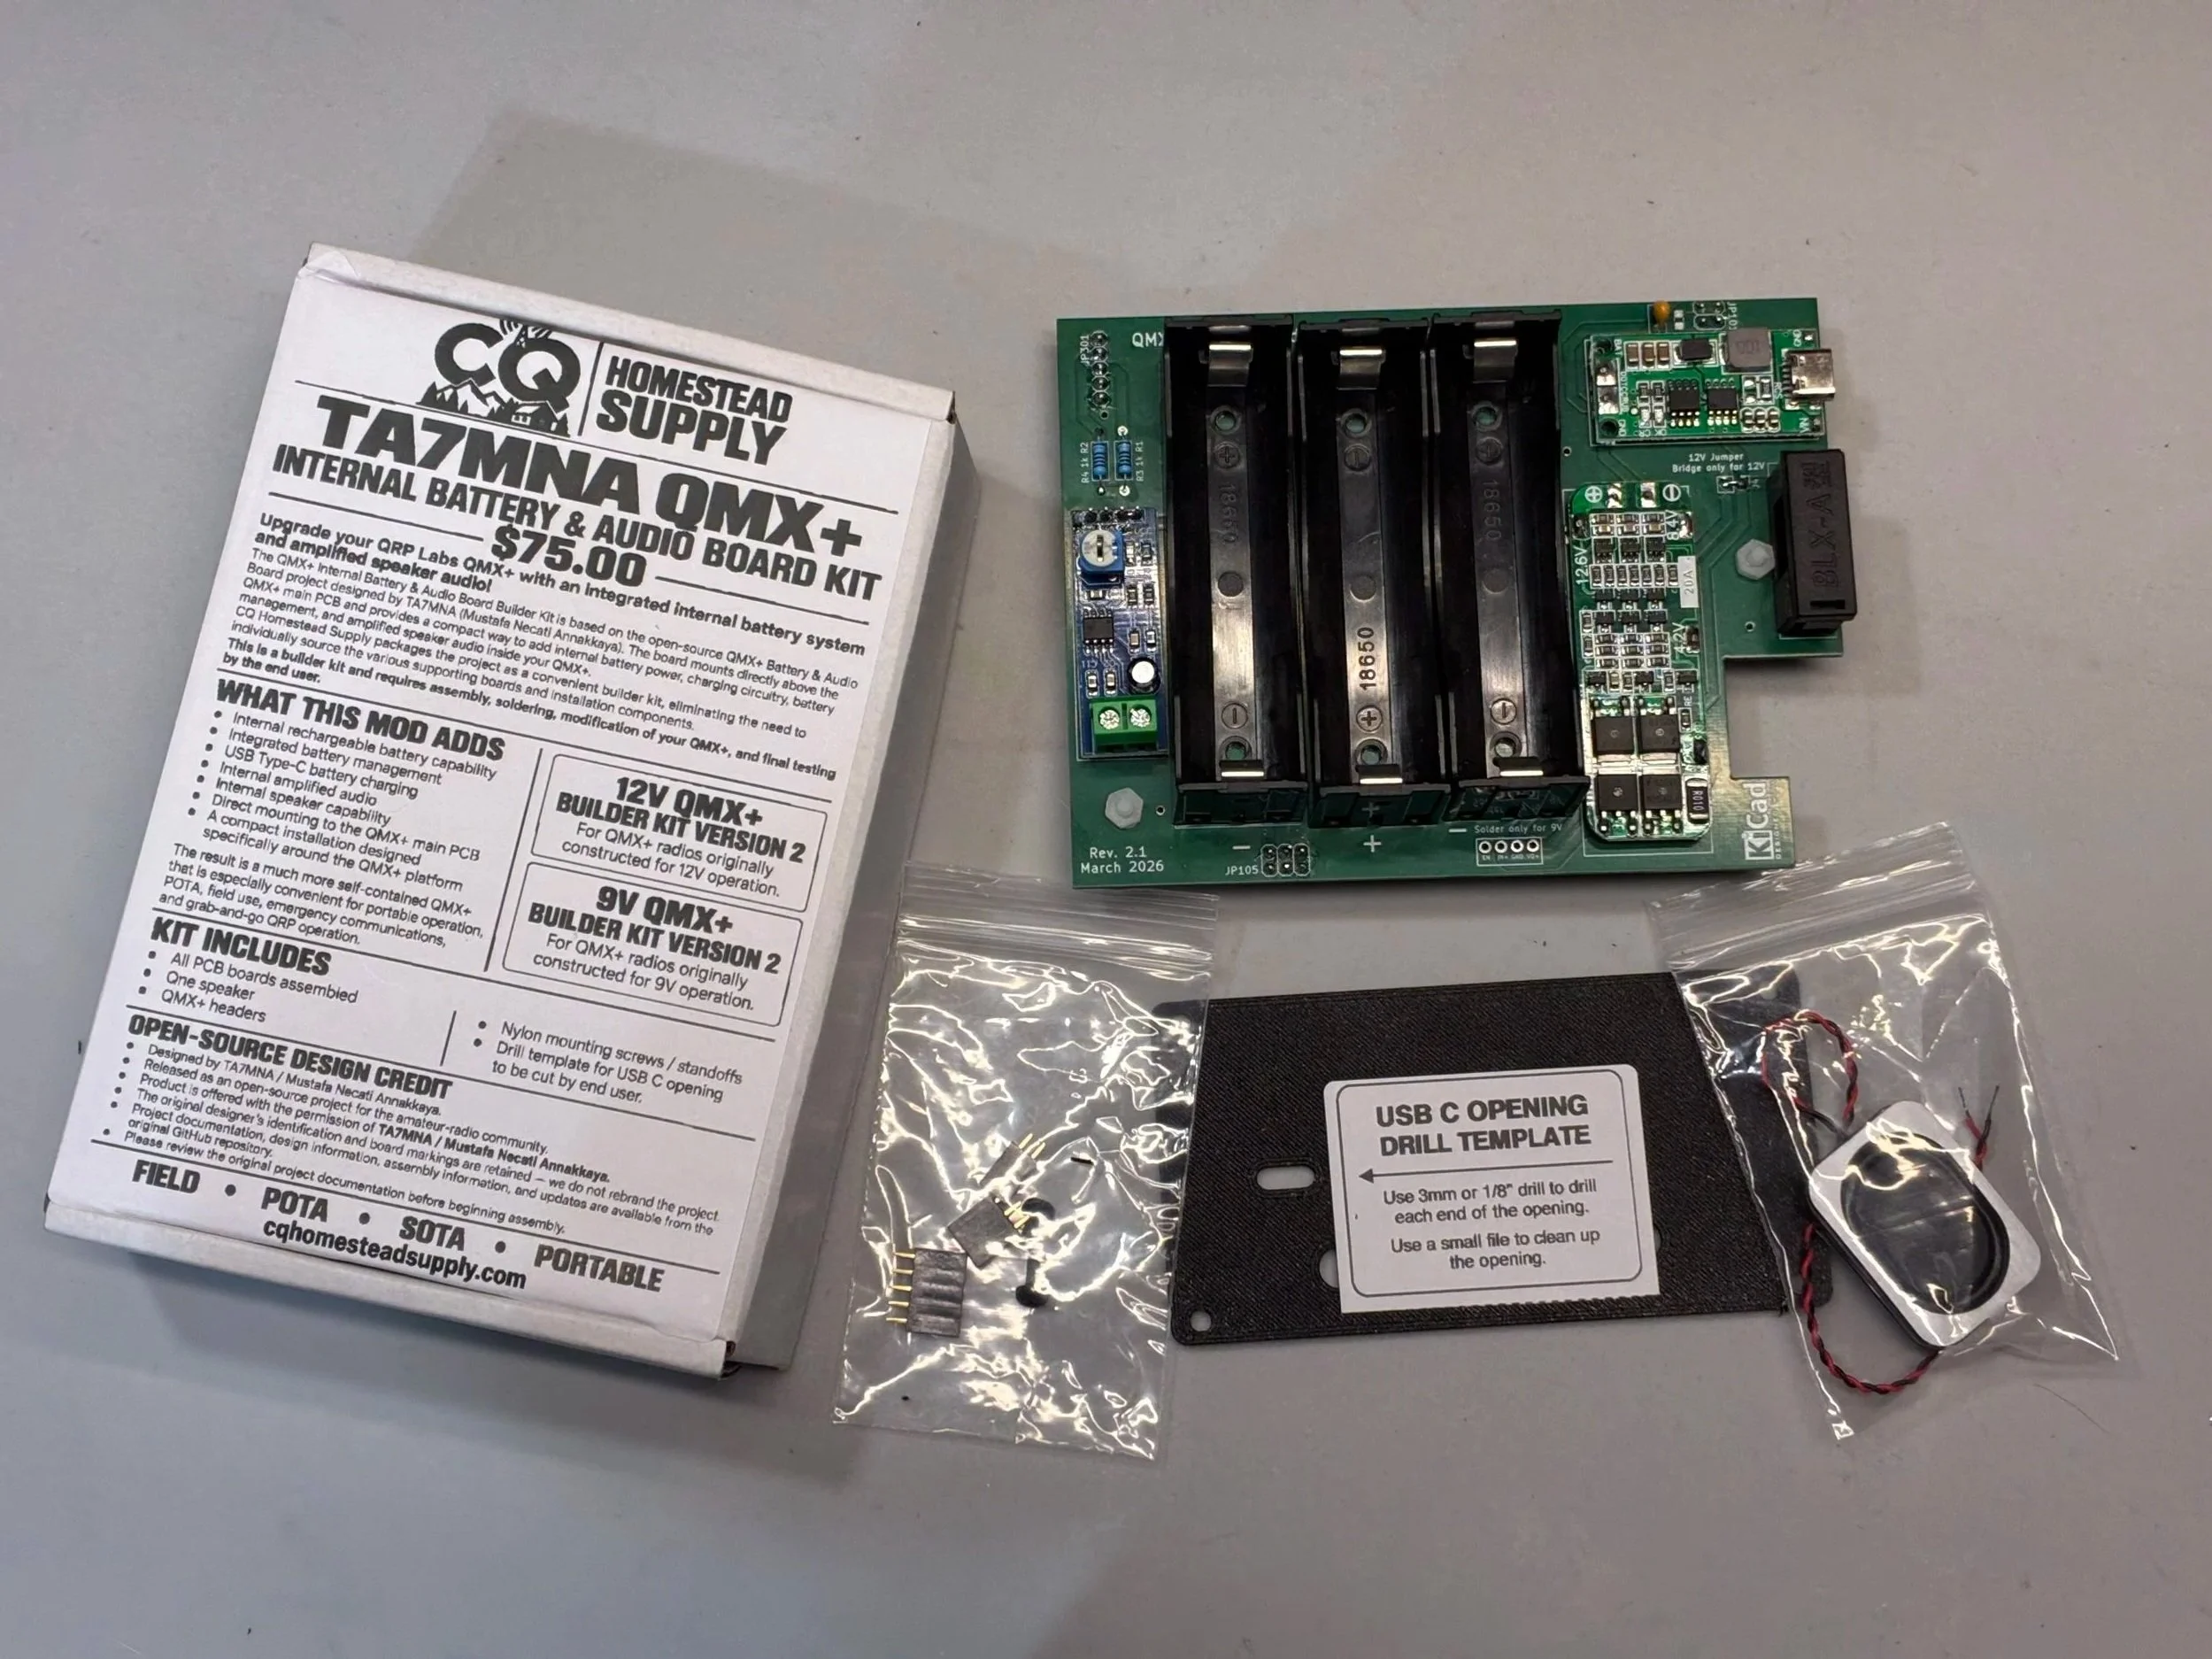
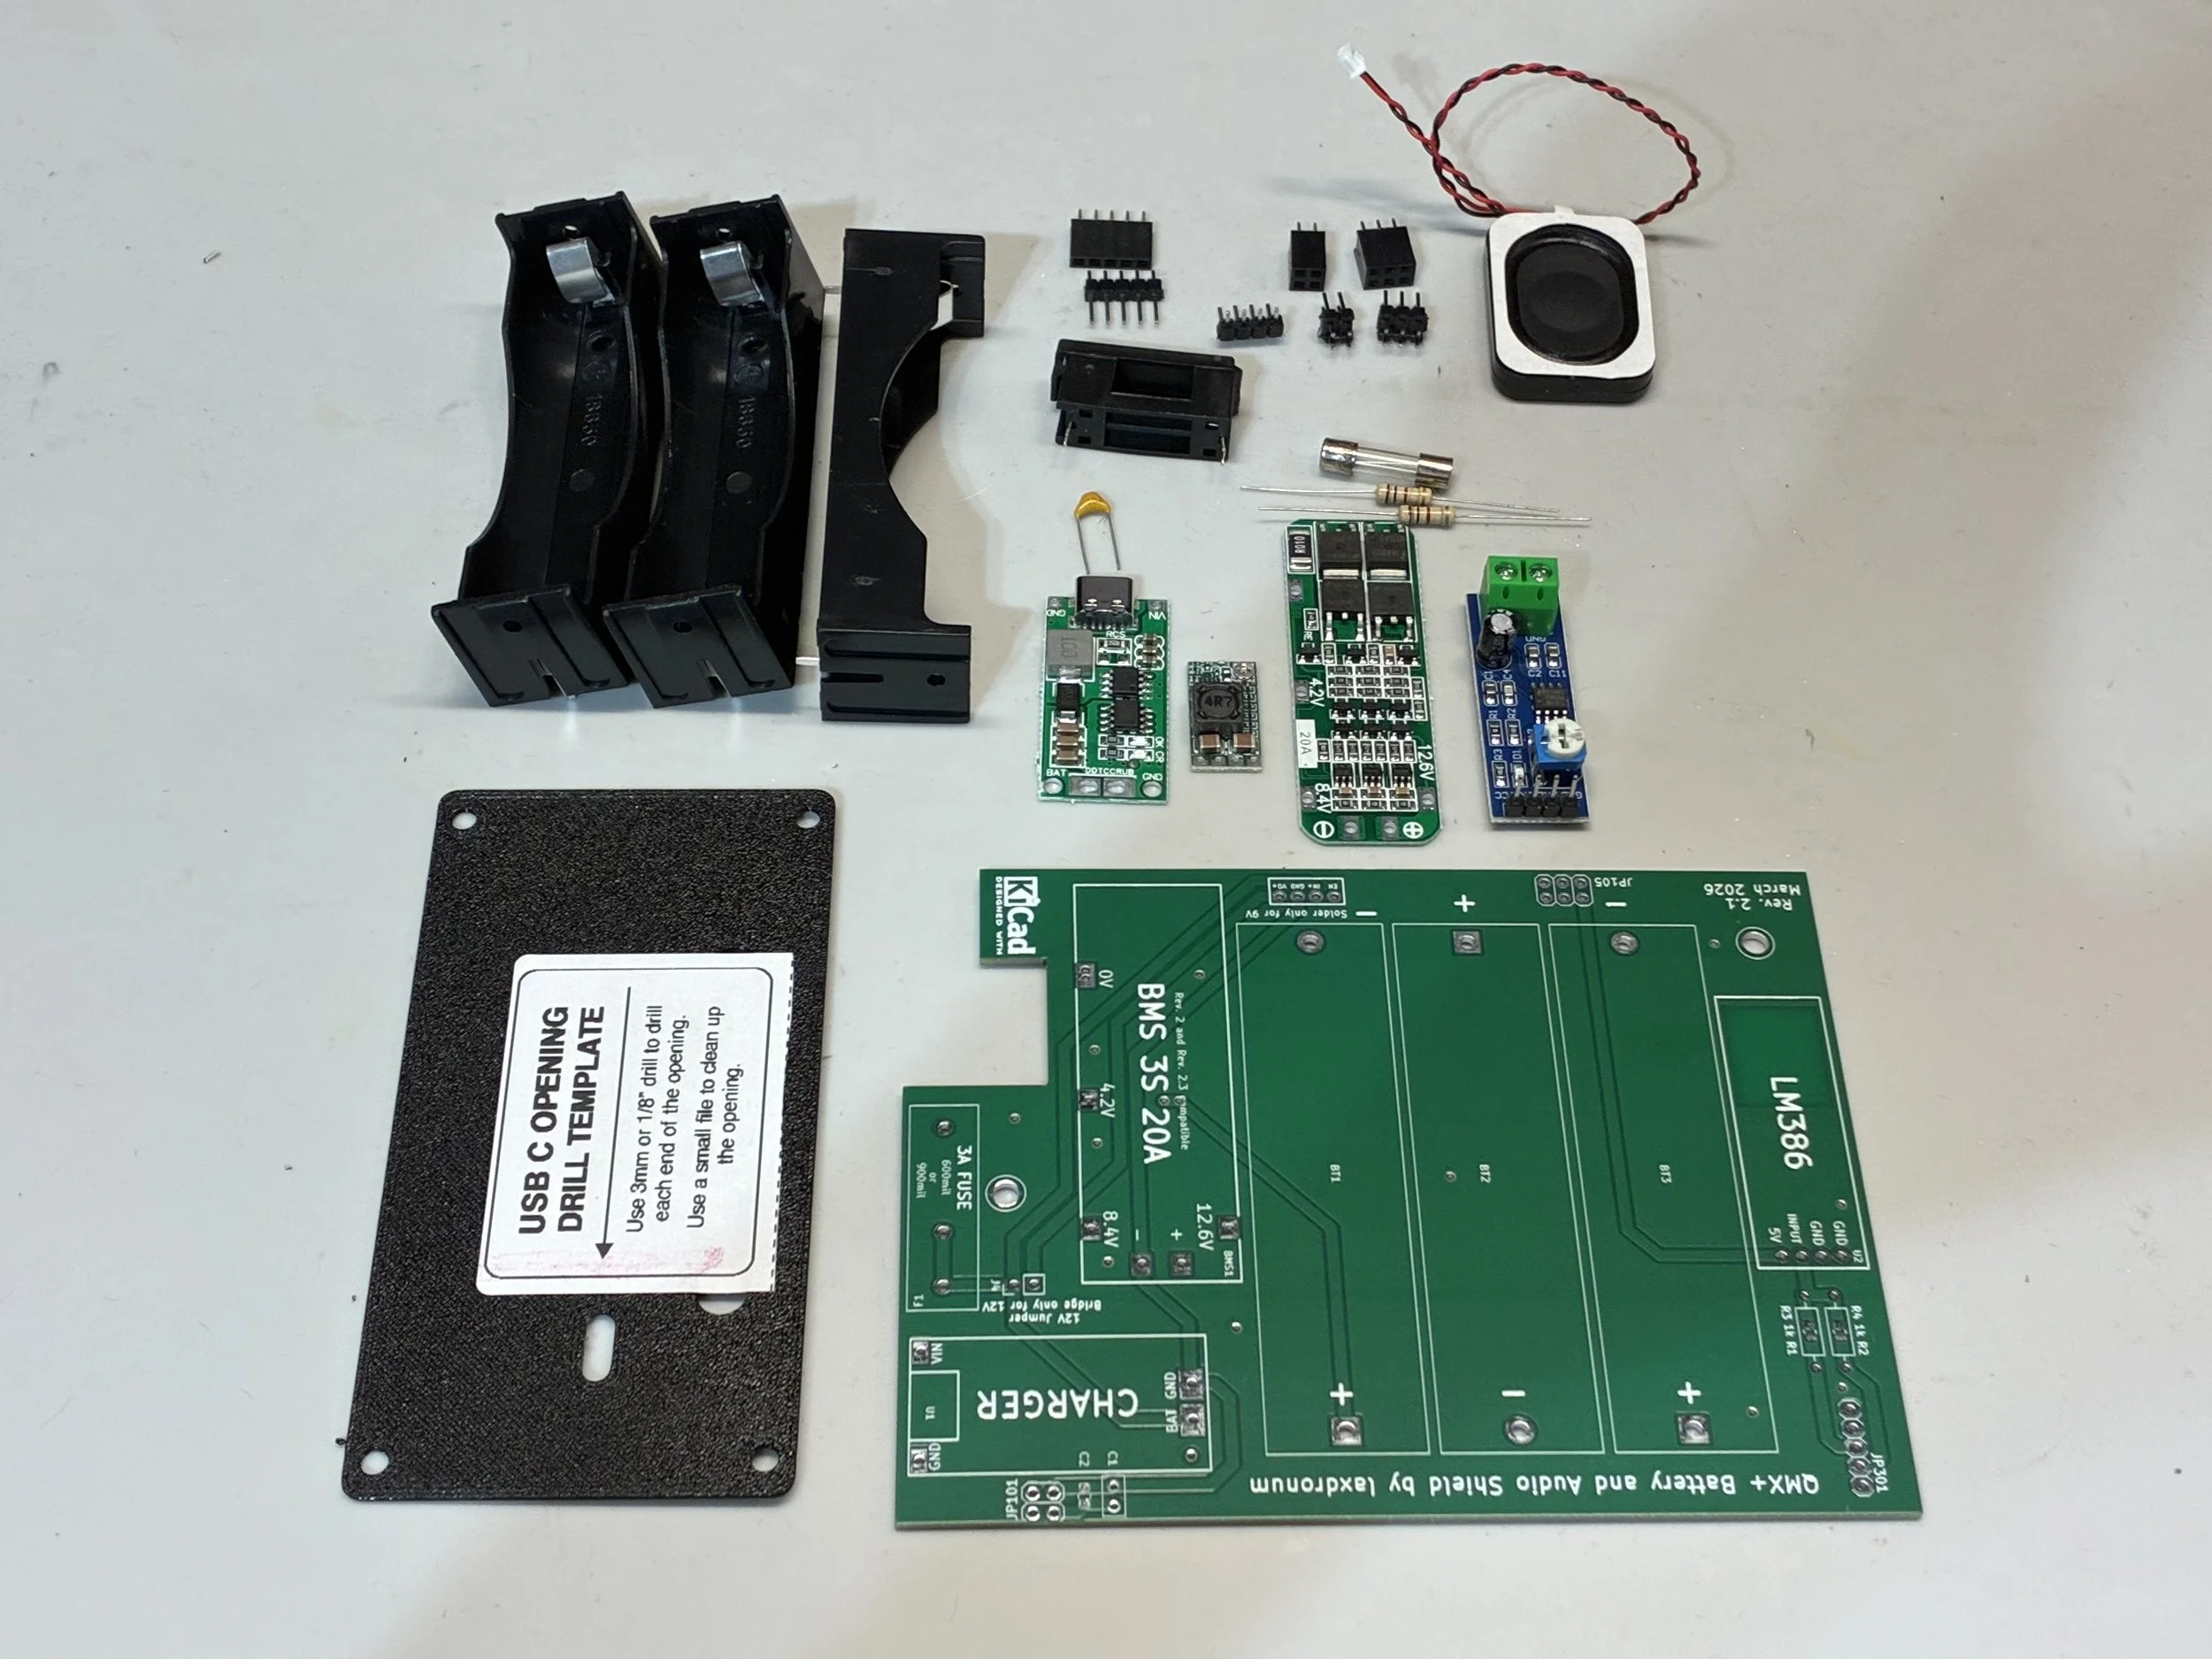
The kit includes the Battery & Audio main PCB along with the additional supporting boards/modules and installation hardware/components supplied by CQ Homestead Supply for completion of the modification.
Our 95% kit has the add on board completely assembled. End user completes the soldering and instalation into the QMX+ Radio.
All kits include a small speaker, that is installed by the end user.
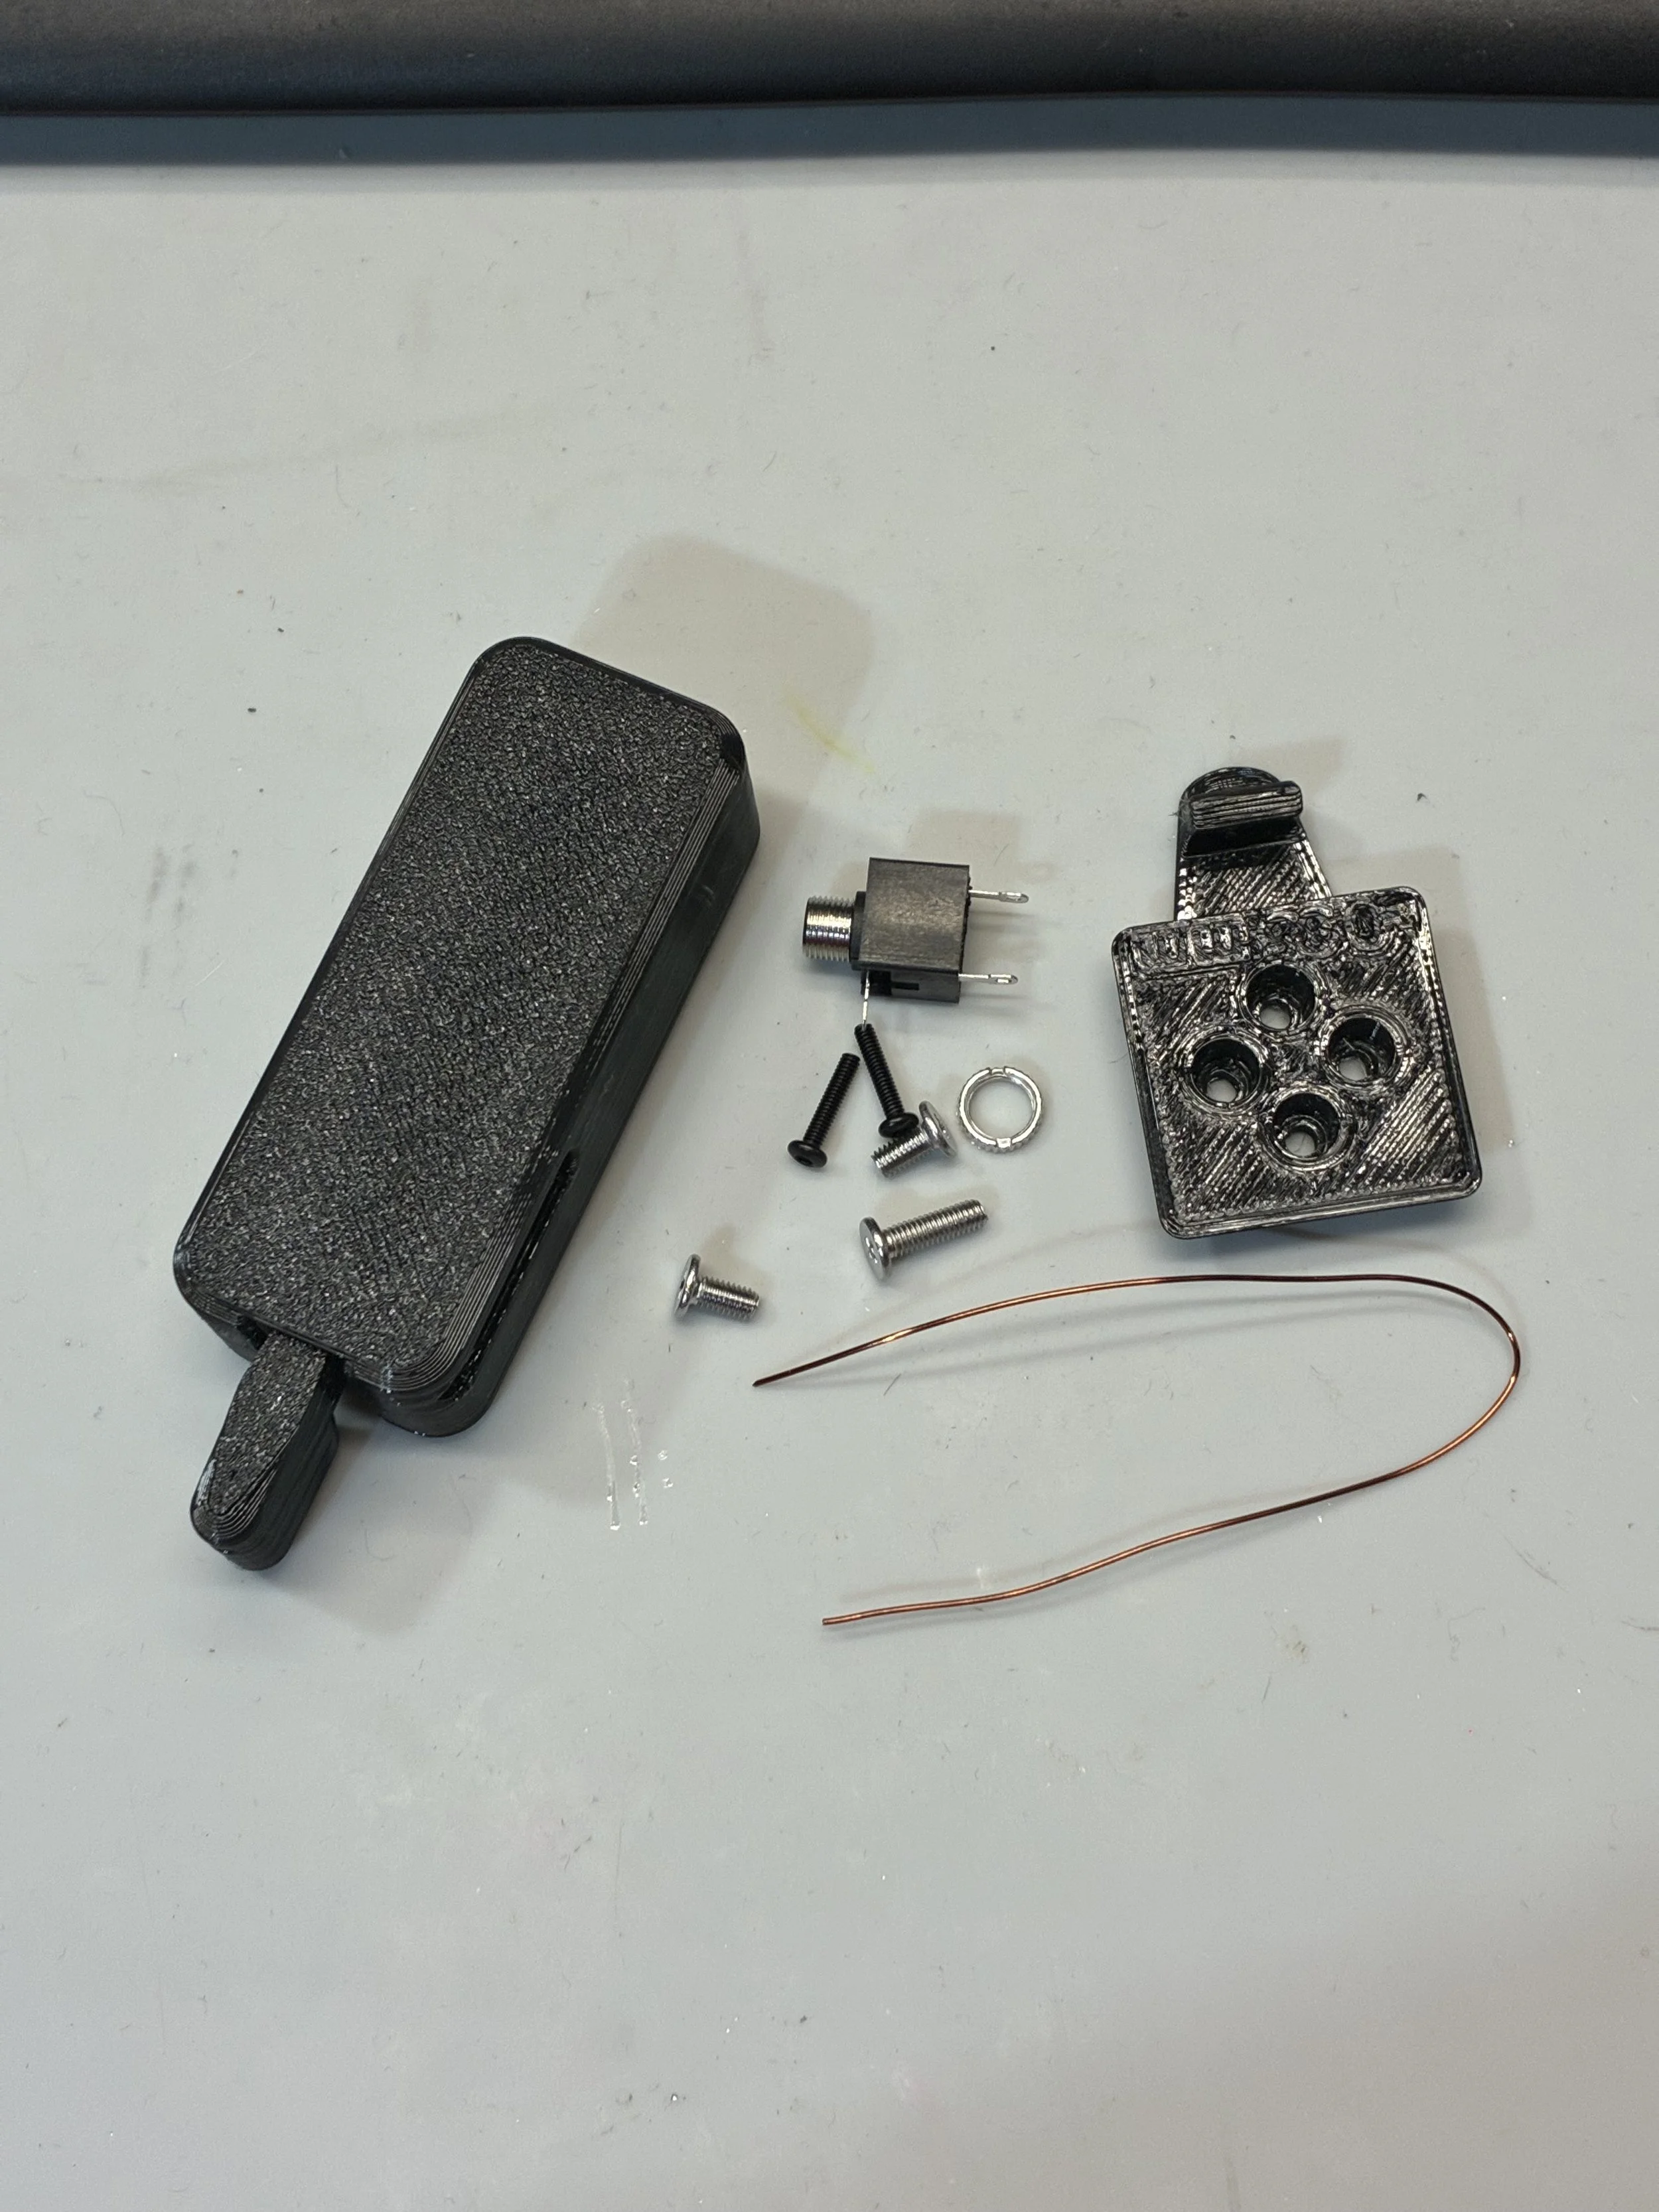
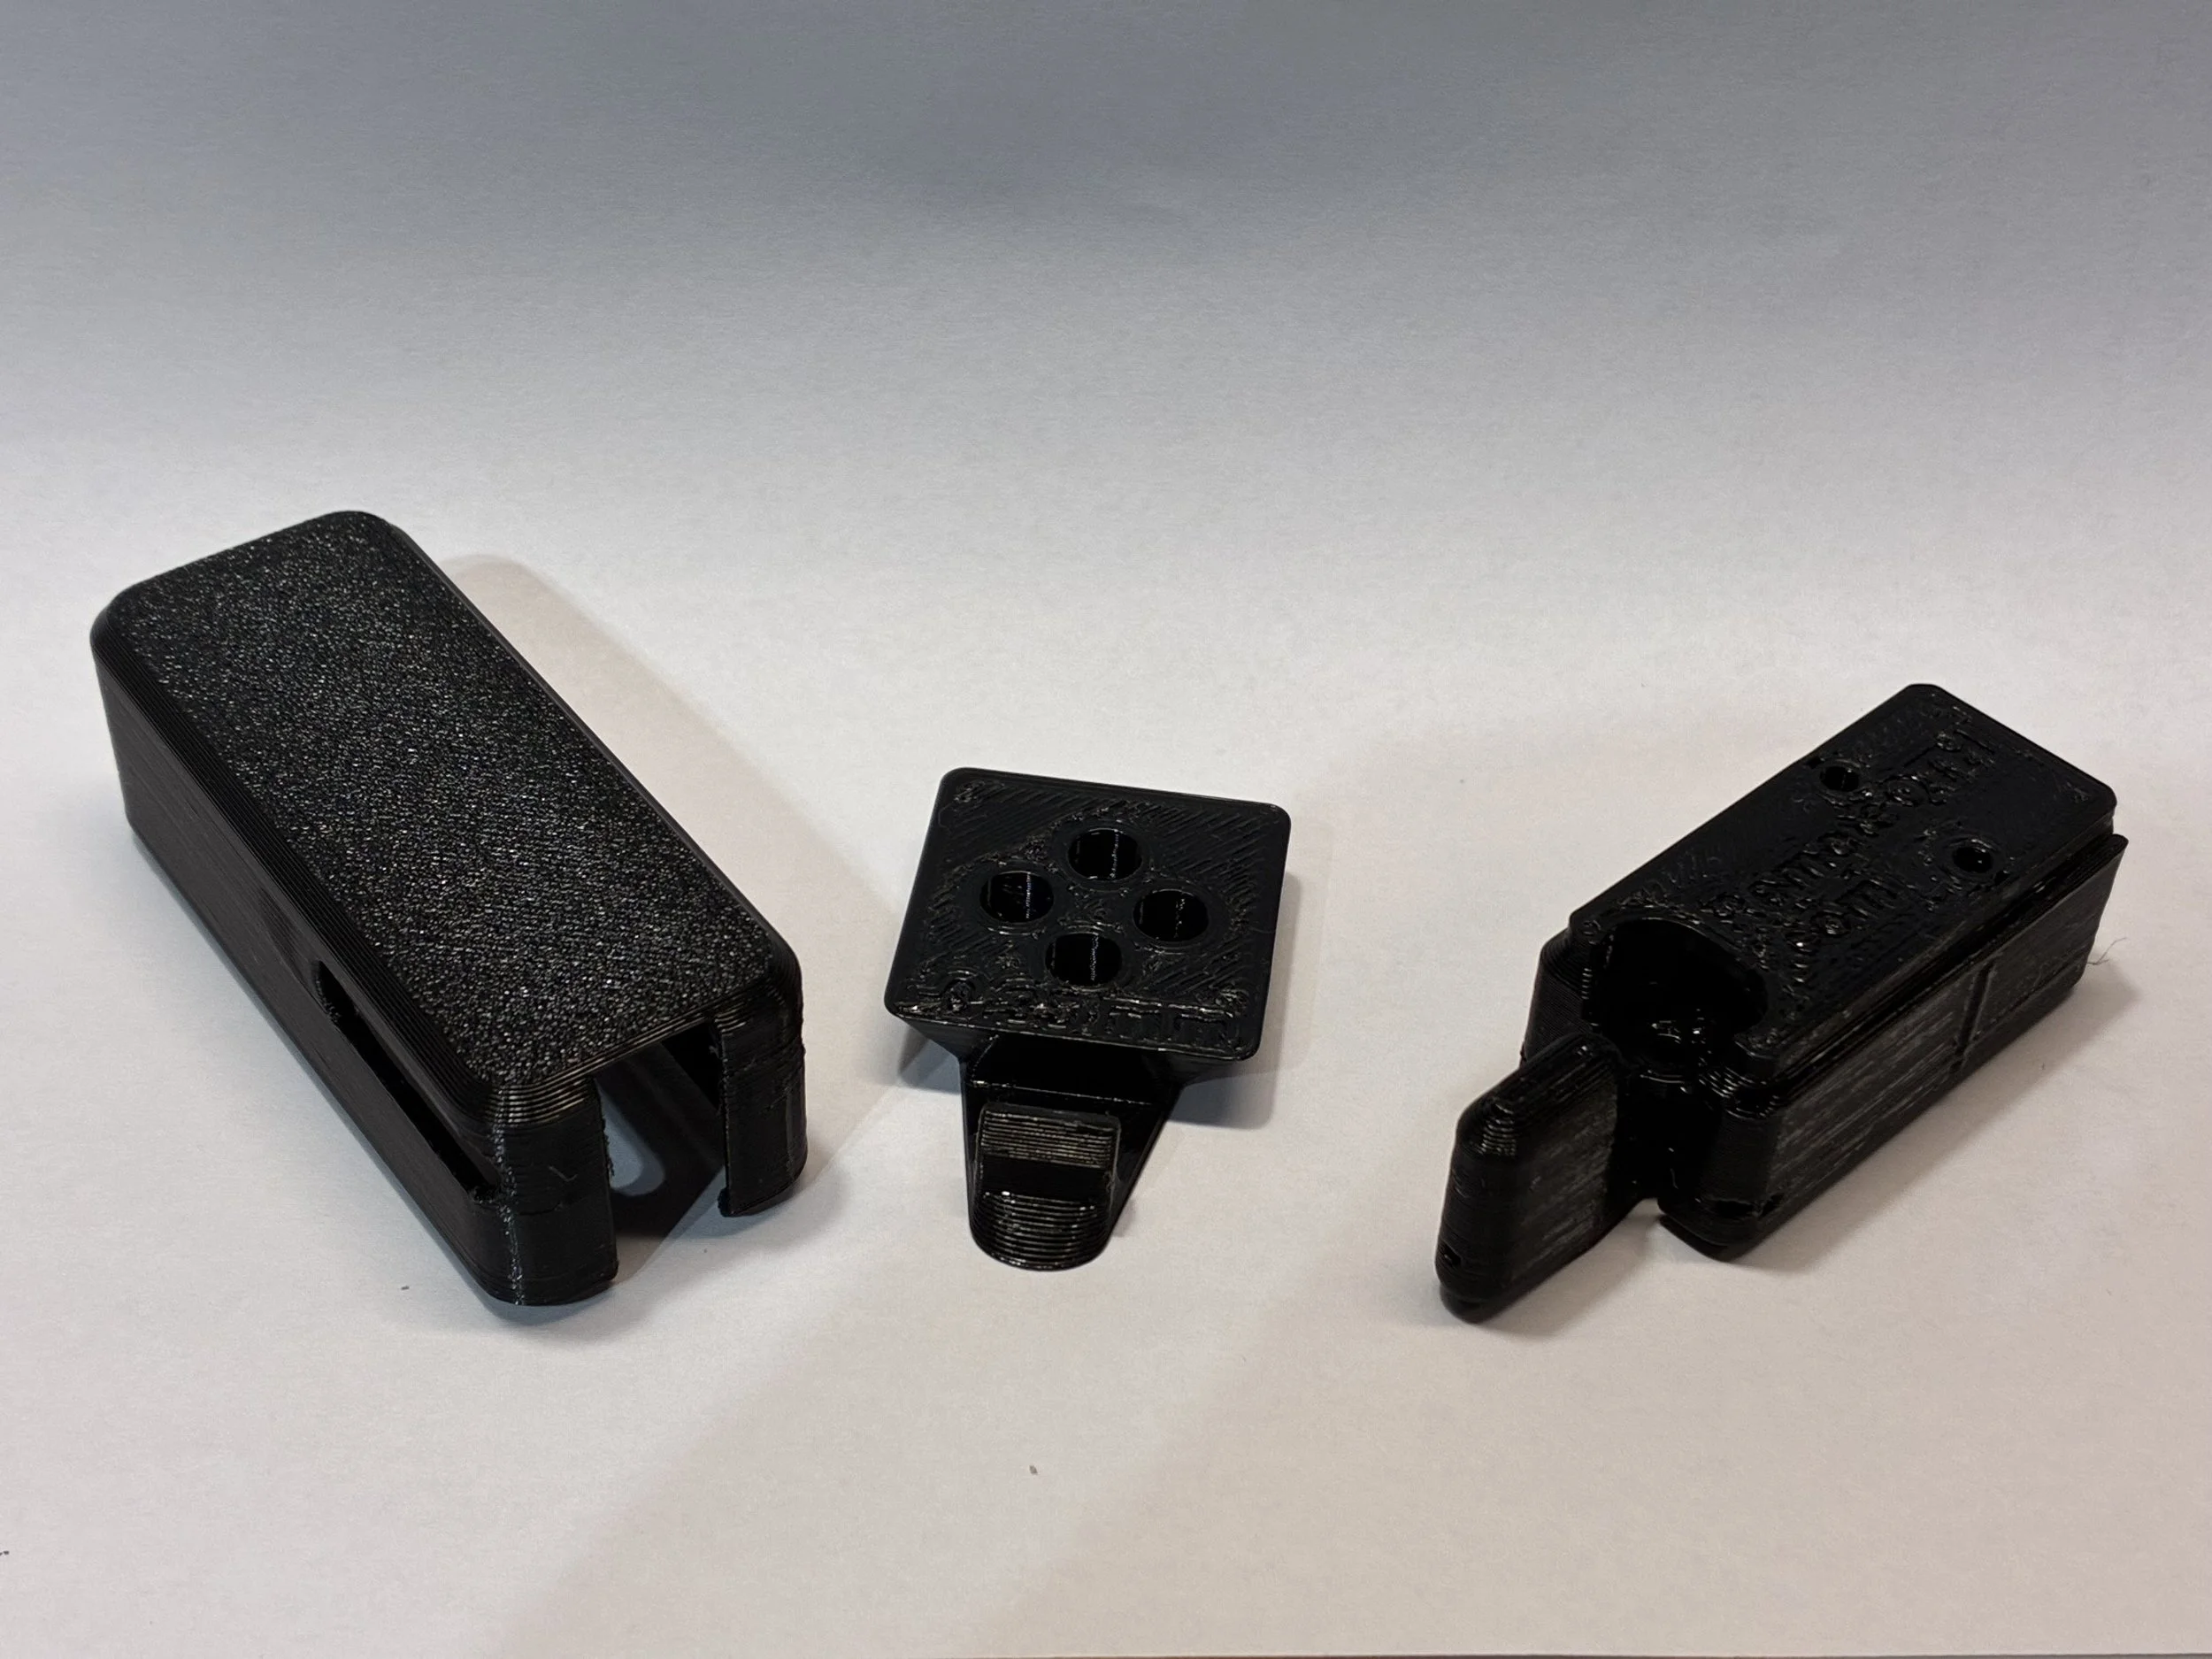
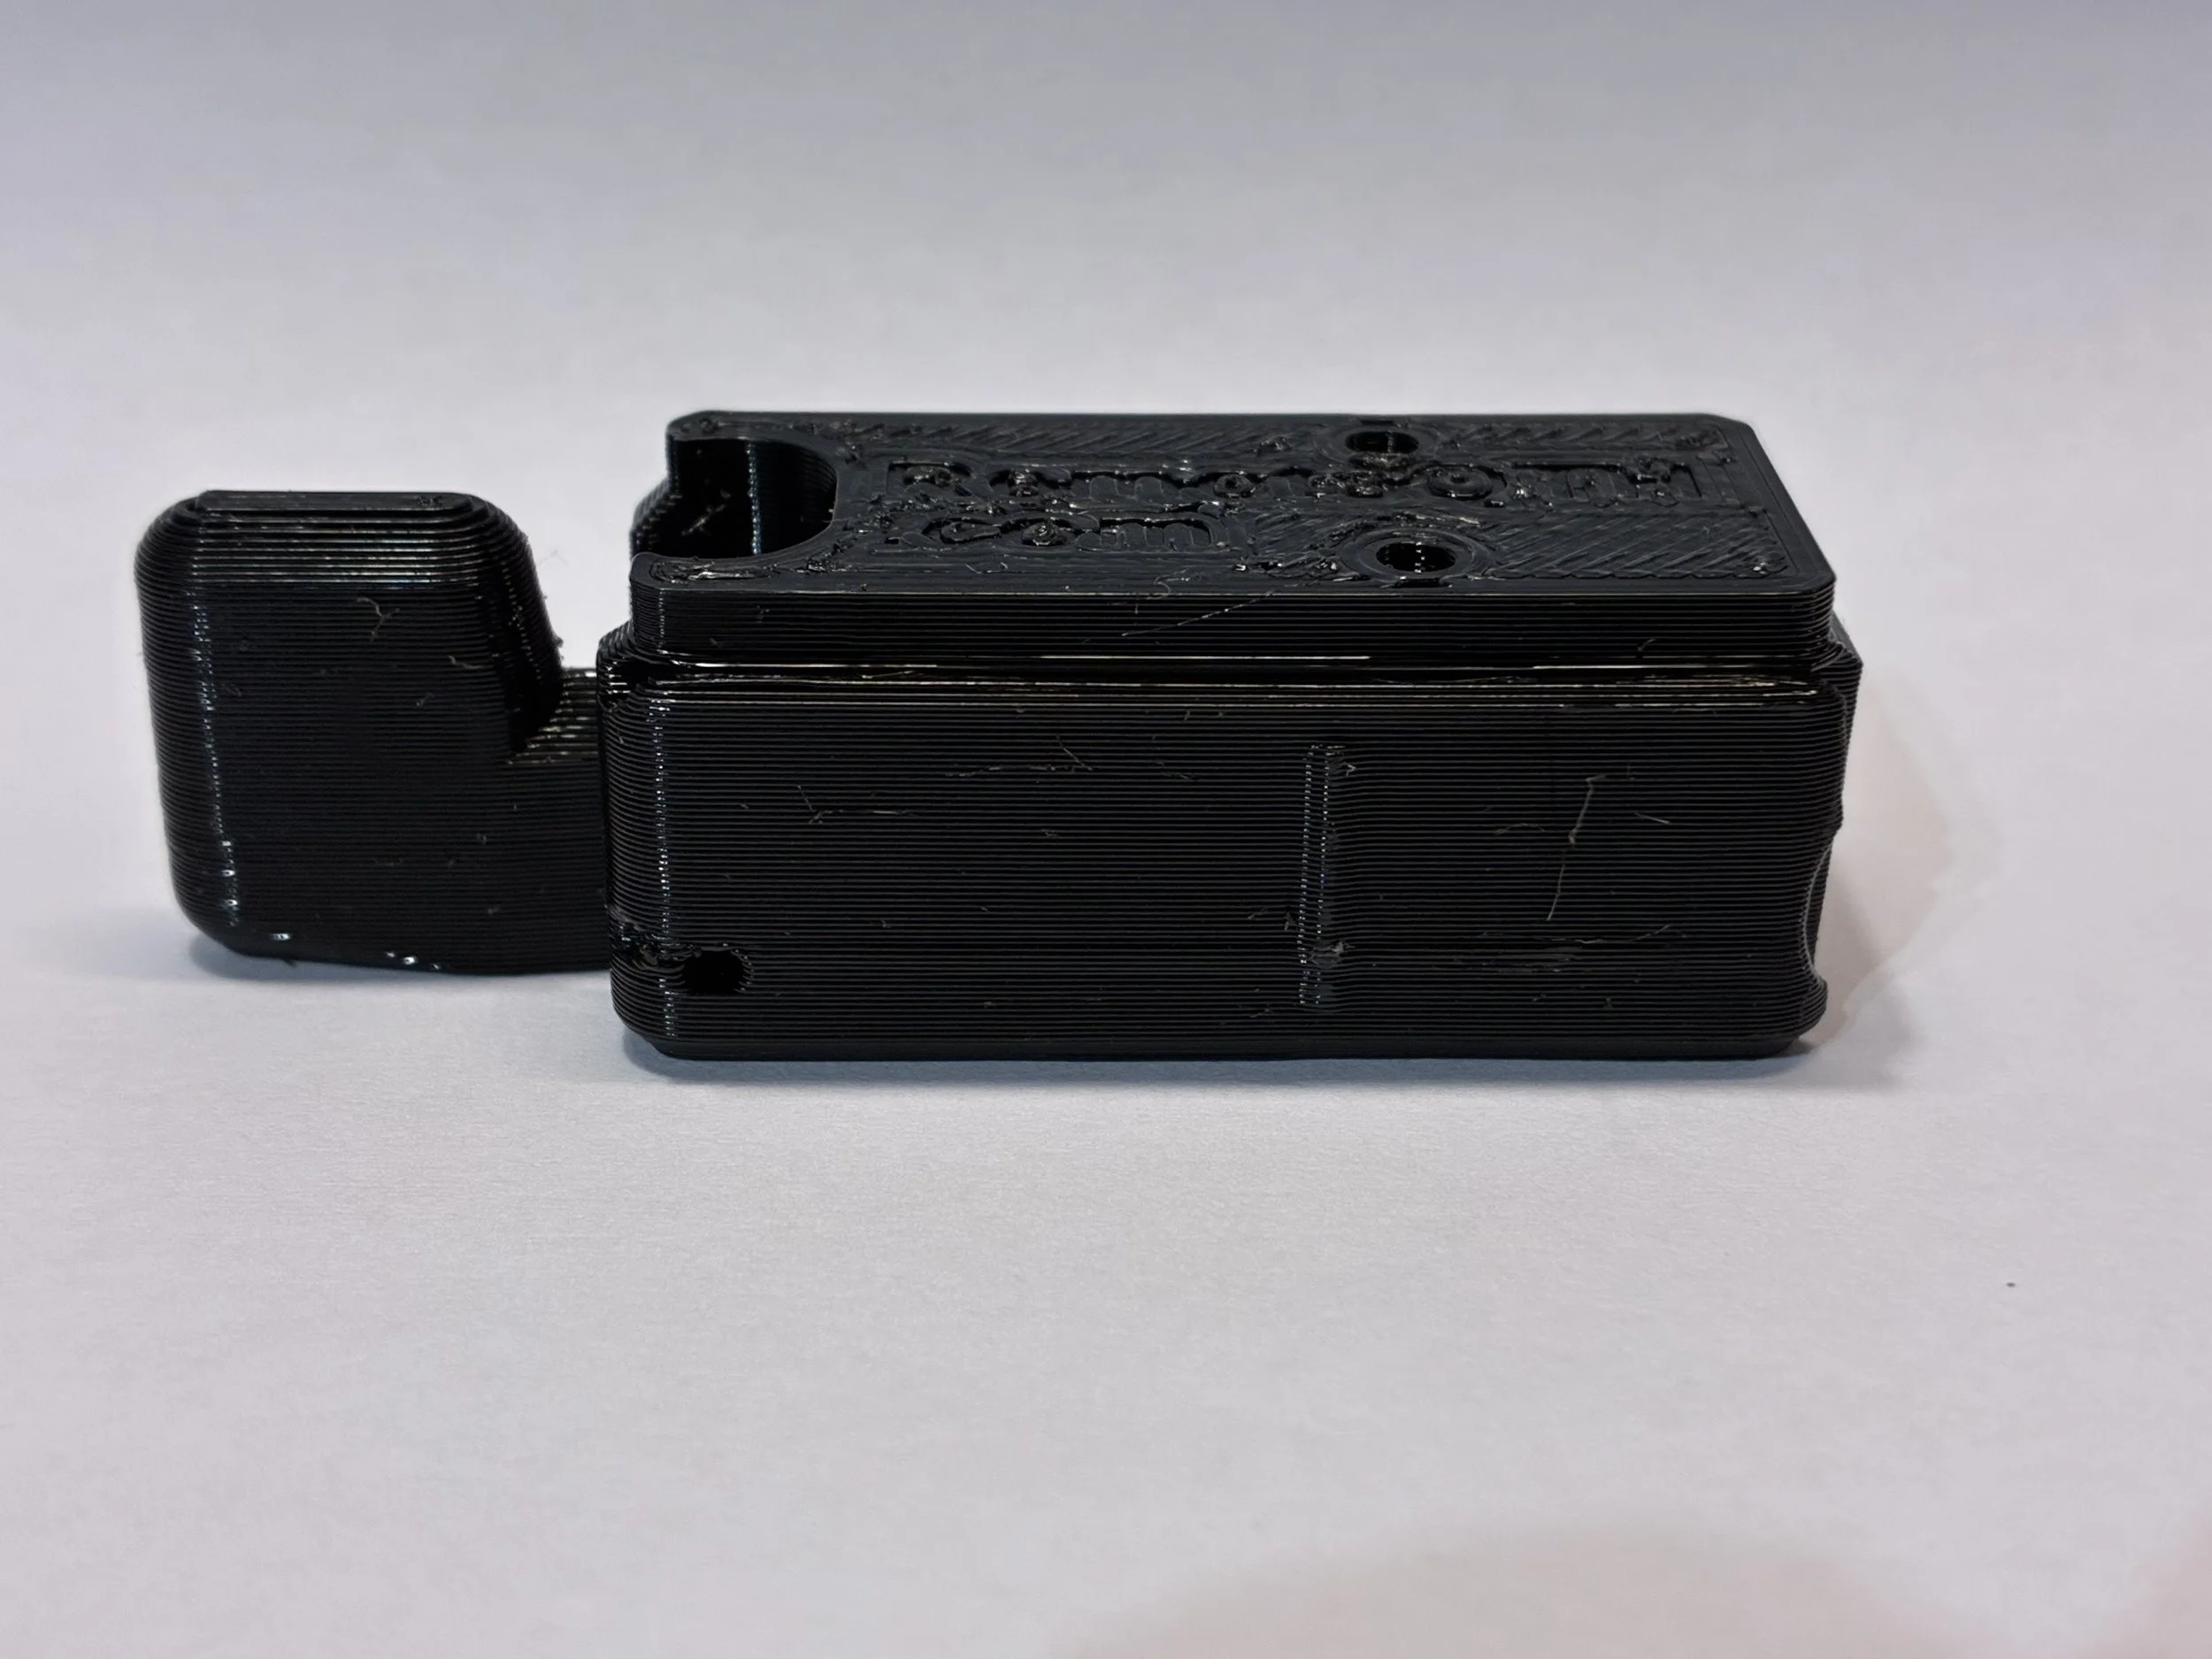
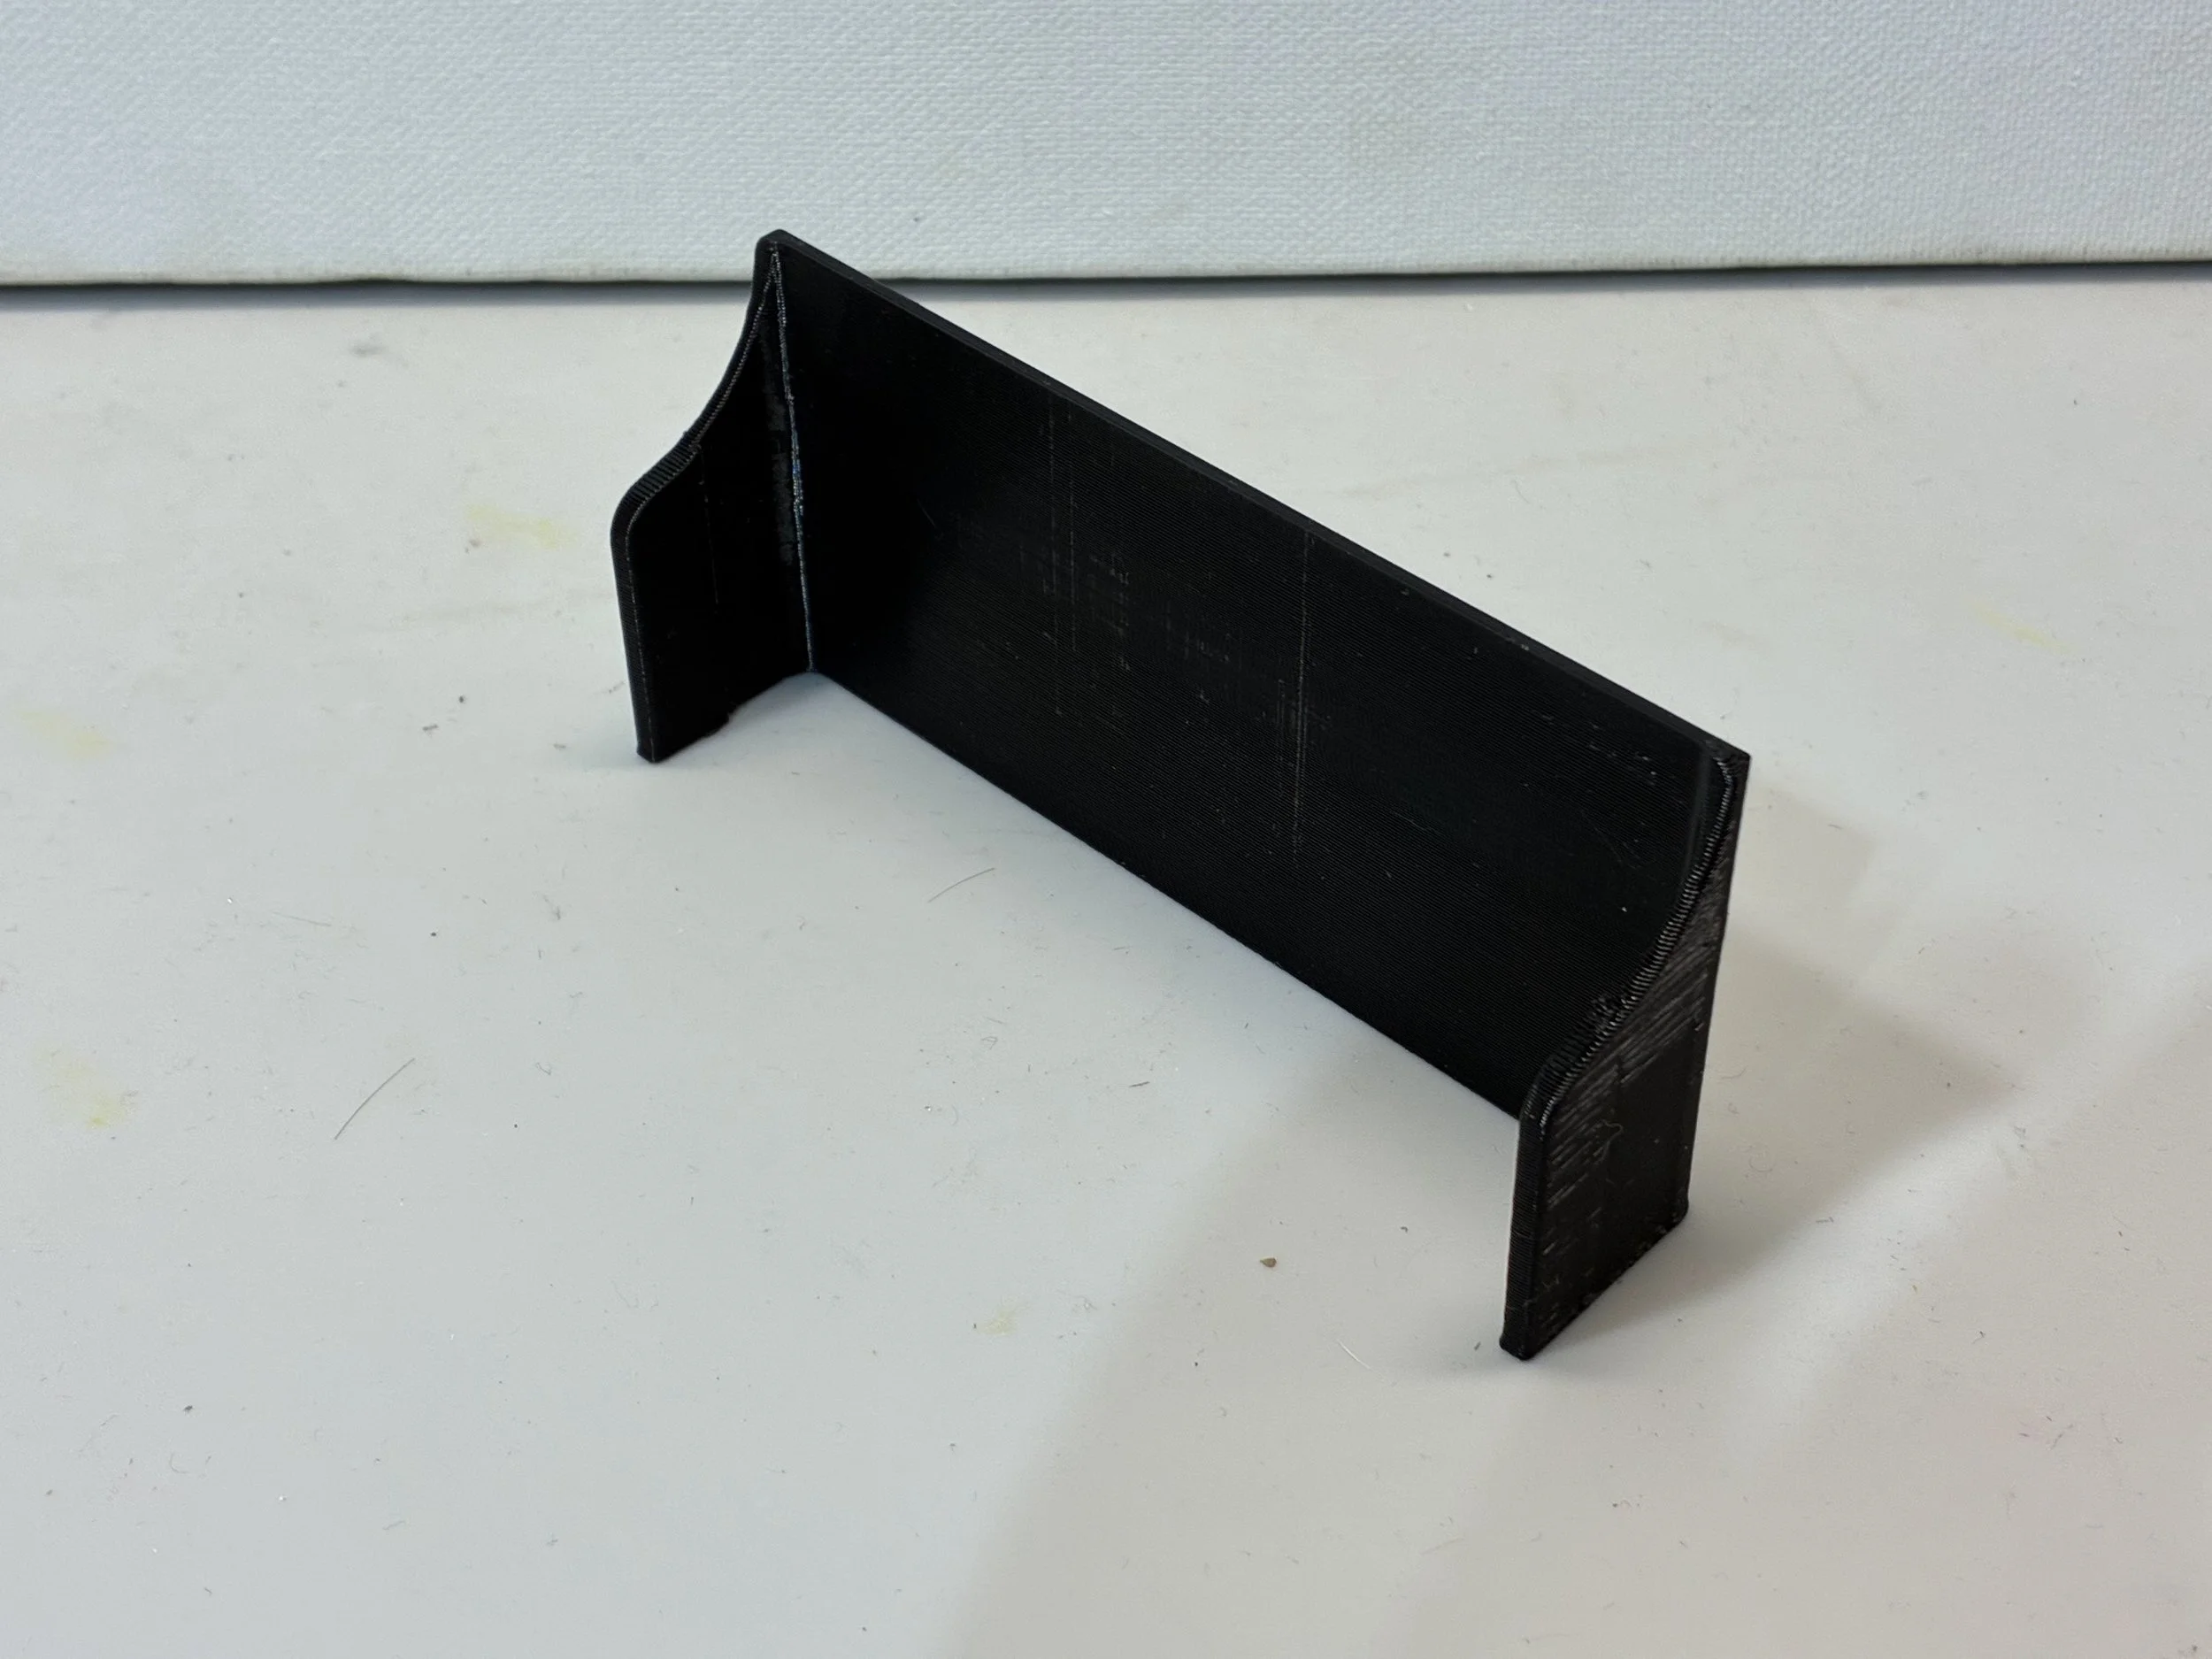
To aid in locating the USB C port that needs to be cut in the rear pannel, CQHS provide a self alinging plastic template that locates the opening for easy drilling and filing by the end user. A 3mm or 1/8” drill is needed and not supplied. To finish the opening, small files are needed such as the Harbor Freight 4614 file set. Youtube How To Video: https://youtu.be/pv2CbtIN7ZQ
18650 lithium-ion batteries are NOT included.
Intermediate
This is not a plug-and-play accessory.
Installation requires the builder to work inside the QMX+, assemble the Battery & Audio Board, solder components and modules, install headers and connections, and perform final inspection and testing.
Builders should be comfortable with:
Through-hole soldering
Basic electronic assembly
Working with PCB headers and small modules
Reading assembly instructions and PCB markings
Checking polarity and connections with a multimeter
Working safely with lithium-ion batteries
Modifying and working inside an assembled QMX+
Minor metal working skills
Careful assembly and inspection are particularly important because incorrect battery polarity, incorrect wiring, or selecting the wrong voltage version can damage the QMX+.
The internal battery system uses three 18650 lithium-ion non-protected cells.
Batteries are not included with this kit.
The builder is responsible for obtaining appropriate matching 18650 cells and installing them with the correct polarity. Only quality cells from a reputable supplier should be used.
The modification provides a dedicated USB Type-C connection for charging the internal battery pack.
The QMX+'s existing USB Type-C connector remains the radio's data connection and is not used to charge the internal battery pack.
Follow the project documentation carefully regarding charging, external DC power, battery installation, and power-down procedures. Always power off the QMX+ before connecting or disconnecting the DC power supply. Inserting or removing the DC jack while the battery board is installed can trigger a voltage transient as power switches over, which risks damaging the mainboard's voltage regulators.
This product is supplied specifically as an amateur-radio builder kit.
CQ Homestead Supply does not install this modification into your radio as part of this product listing. Final assembly, installation, inspection, testing, and safe operation are the responsibility of the builder.
Always completely power down the QMX+ before connecting or disconnecting external DC power as directed by the project documentation.
Before applying power, double-check:
QMX+ voltage configuration
Battery polarity
BMS connections
Charger connections
PCB orientation
Header alignment
Solder joints
Speaker/audio connections
Never install the 12V version into a QMX+ configured for 9V operation.
The QMX+ Battery & Audio Board was designed by and with permission of TA7MNA / Mustafa Necati Annakkaya and released as an open-source project for the amateur-radio community.
CQ Homestead Supply is providing a convenient builder-kit package based on this project. The original designer's identification and board markings are retained—we do not rebrand the project as our own design.
Project documentation, design information, assembly information, and updates are available from the original QMX+ Battery & Audio Board GitHub repository.
Please review the original project documentation before beginning assembly.
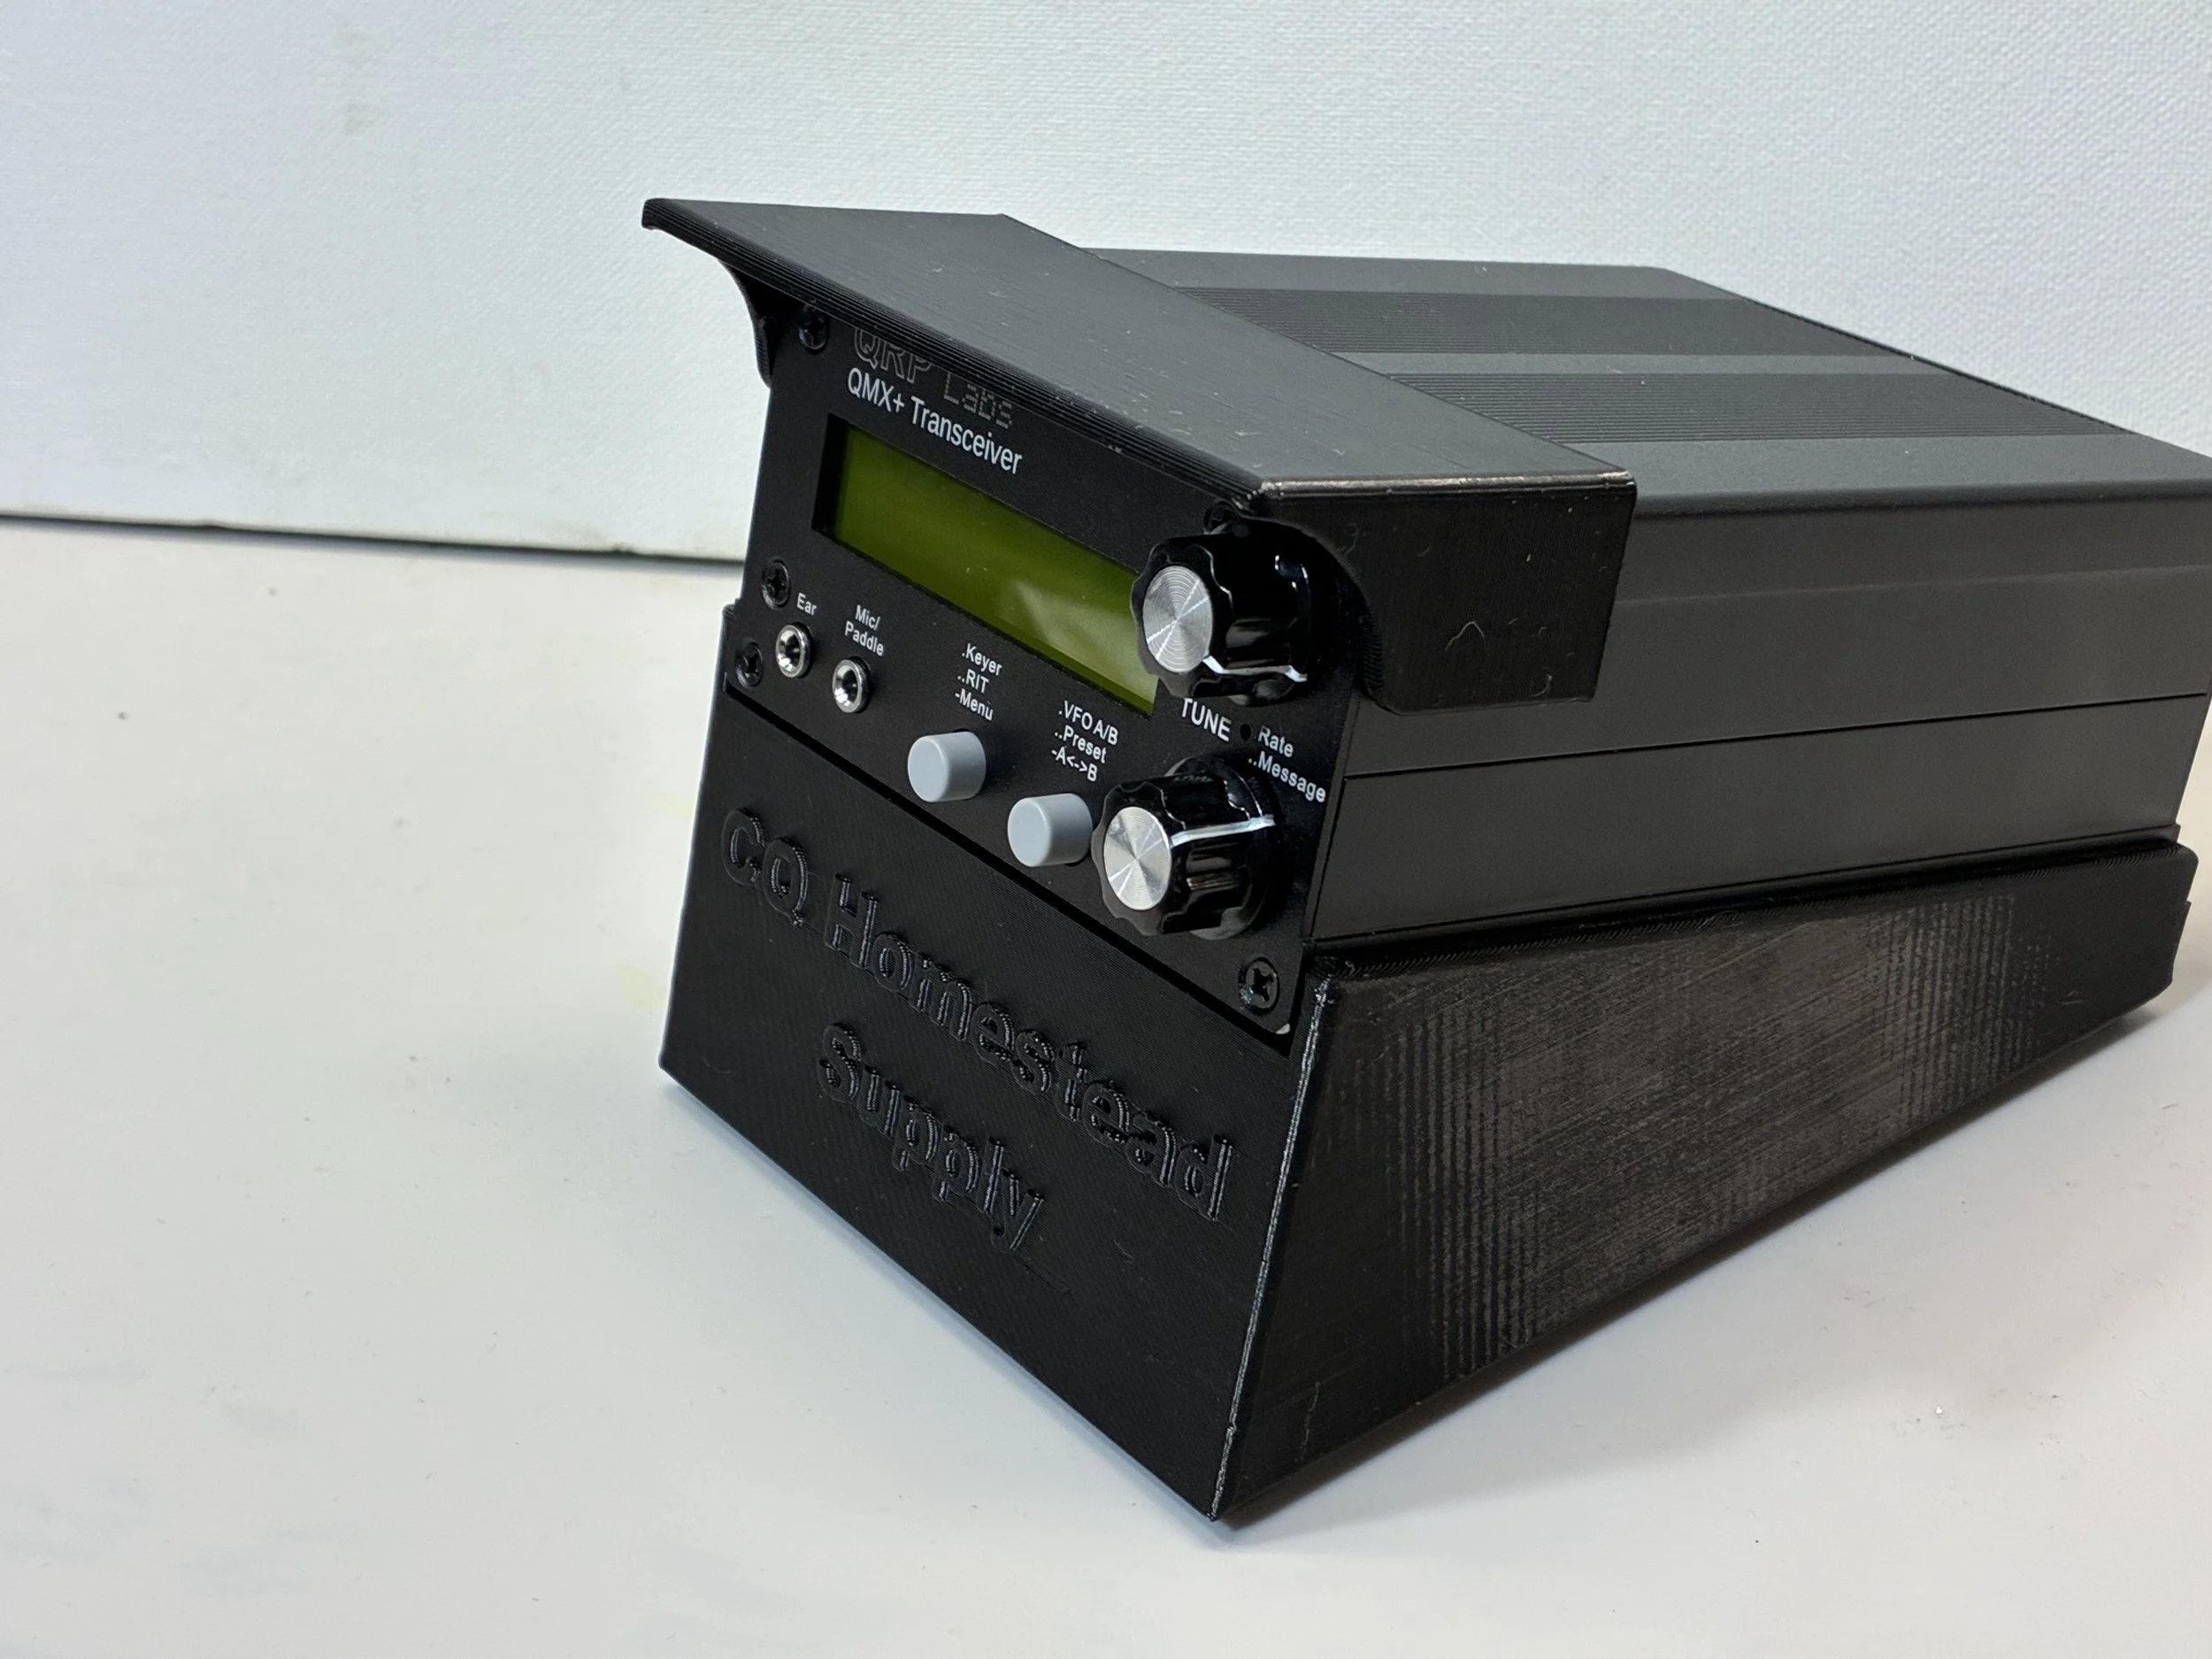
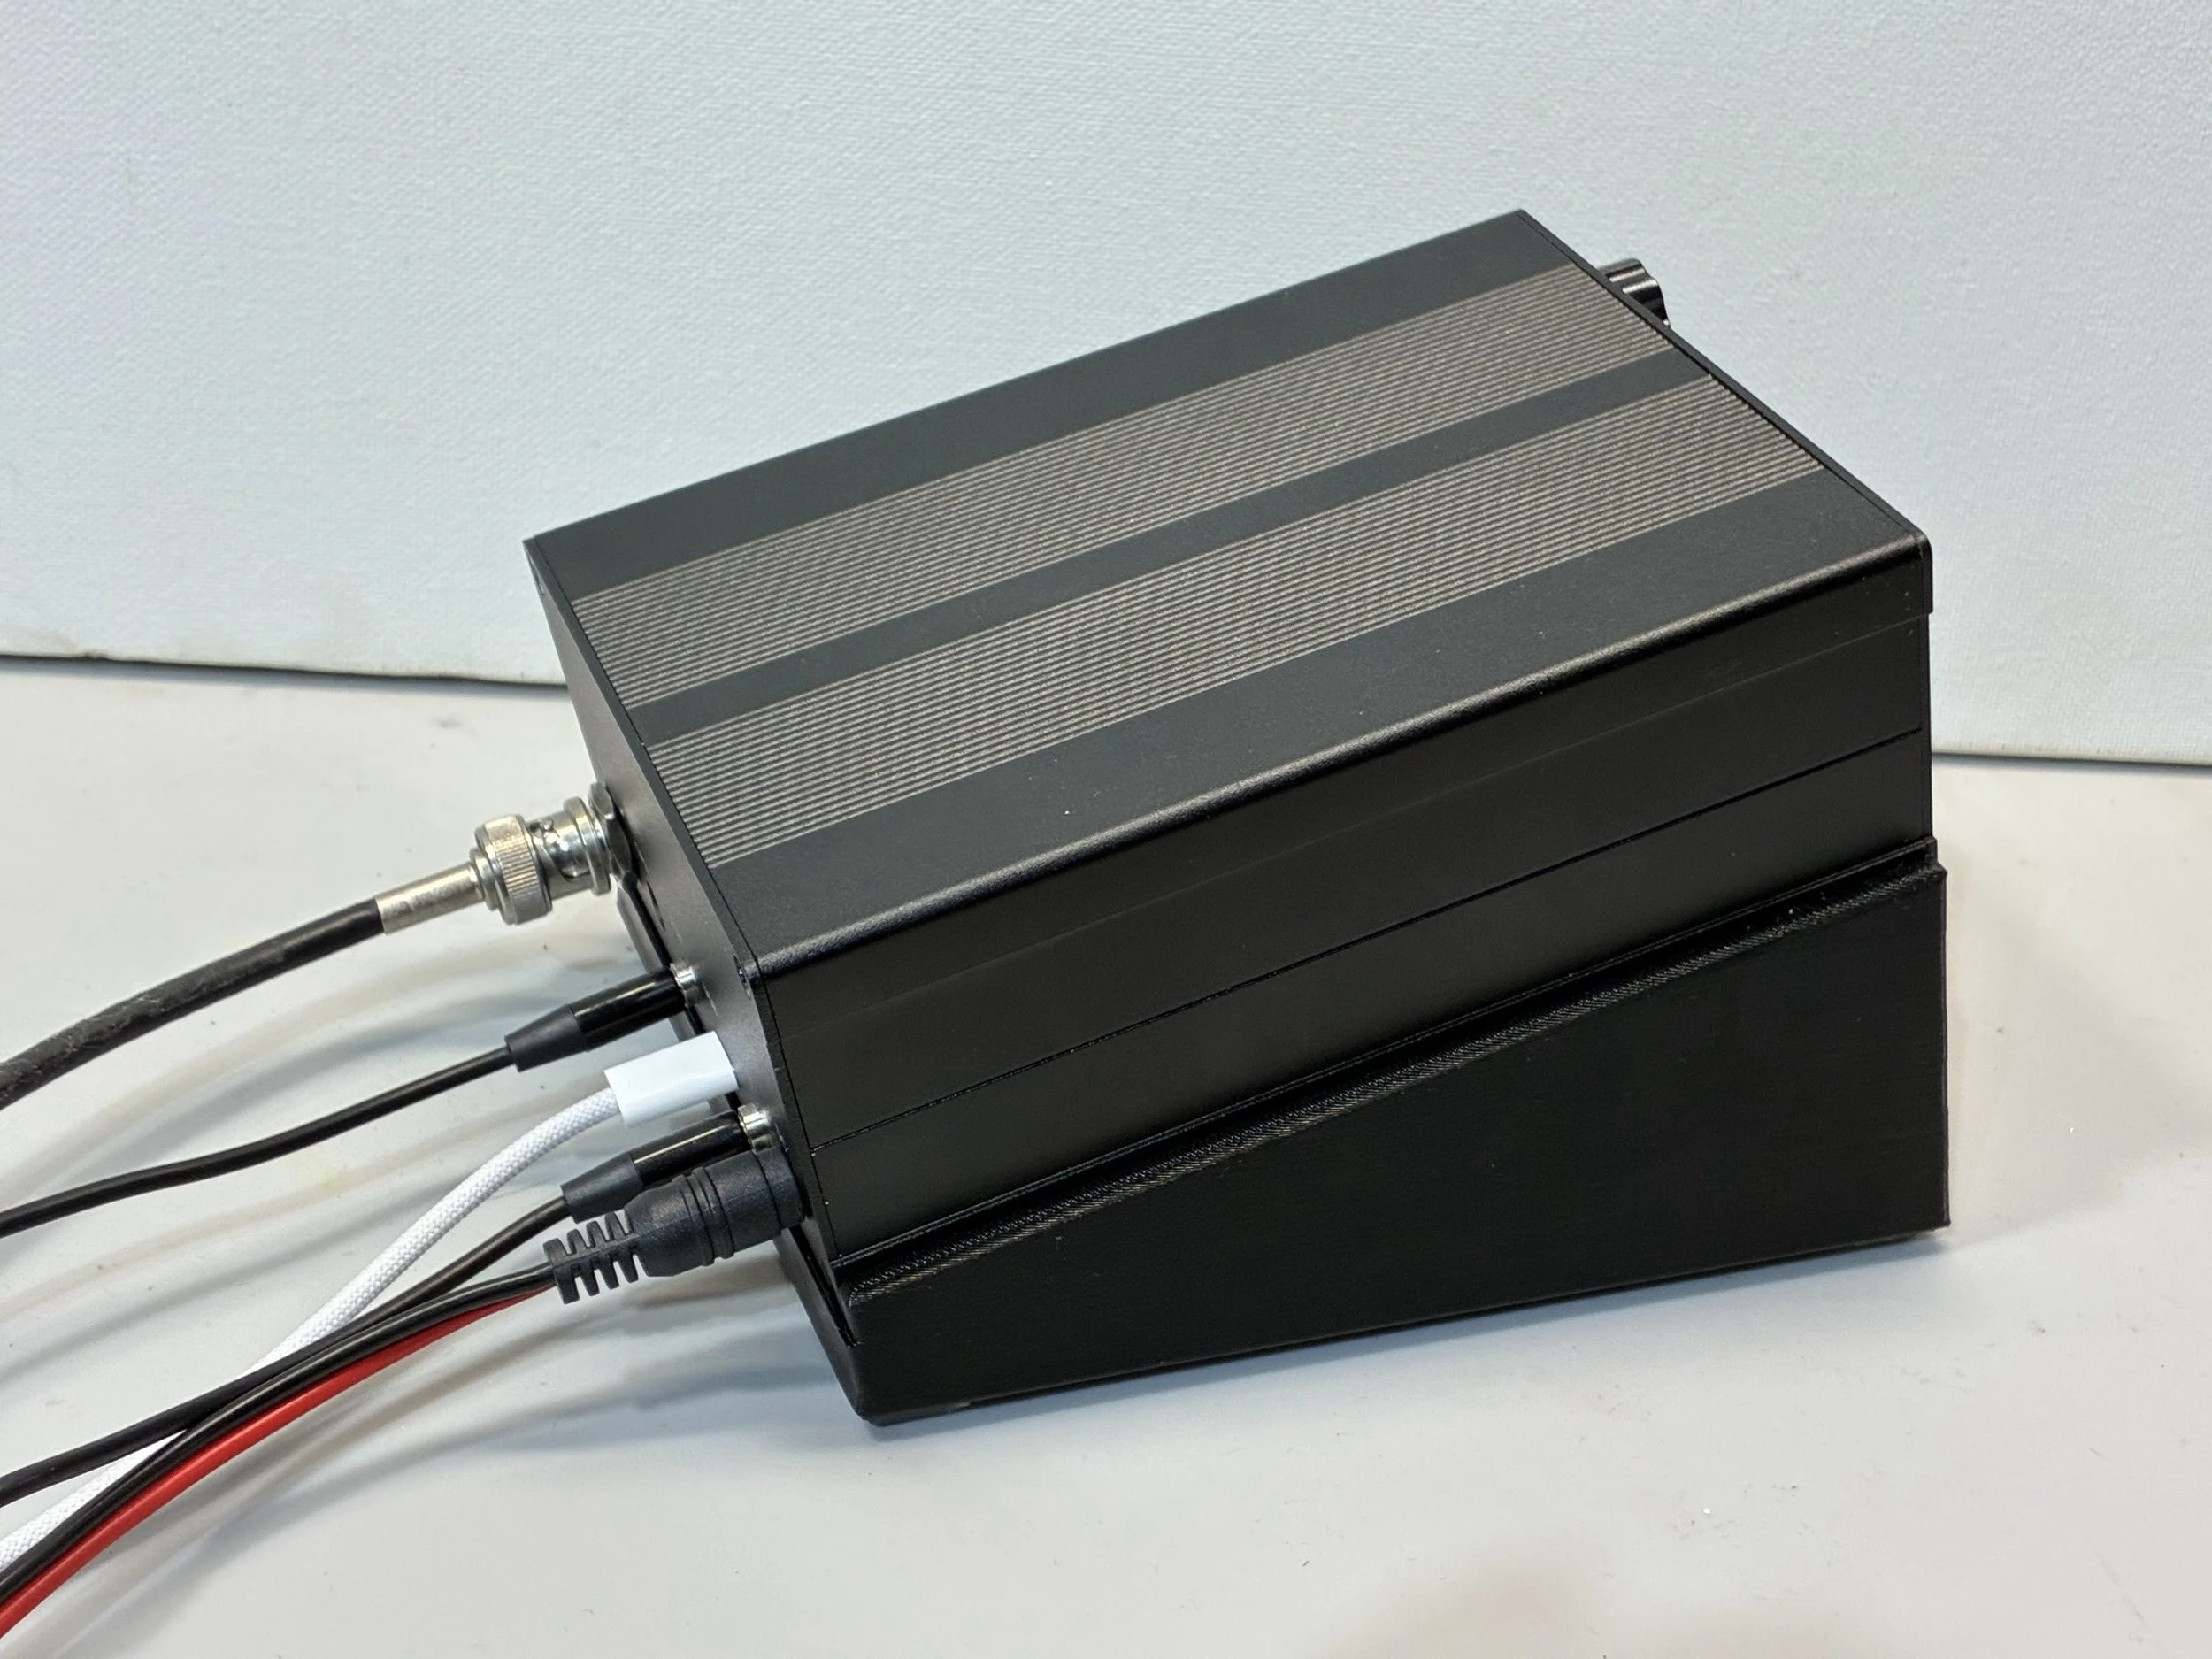
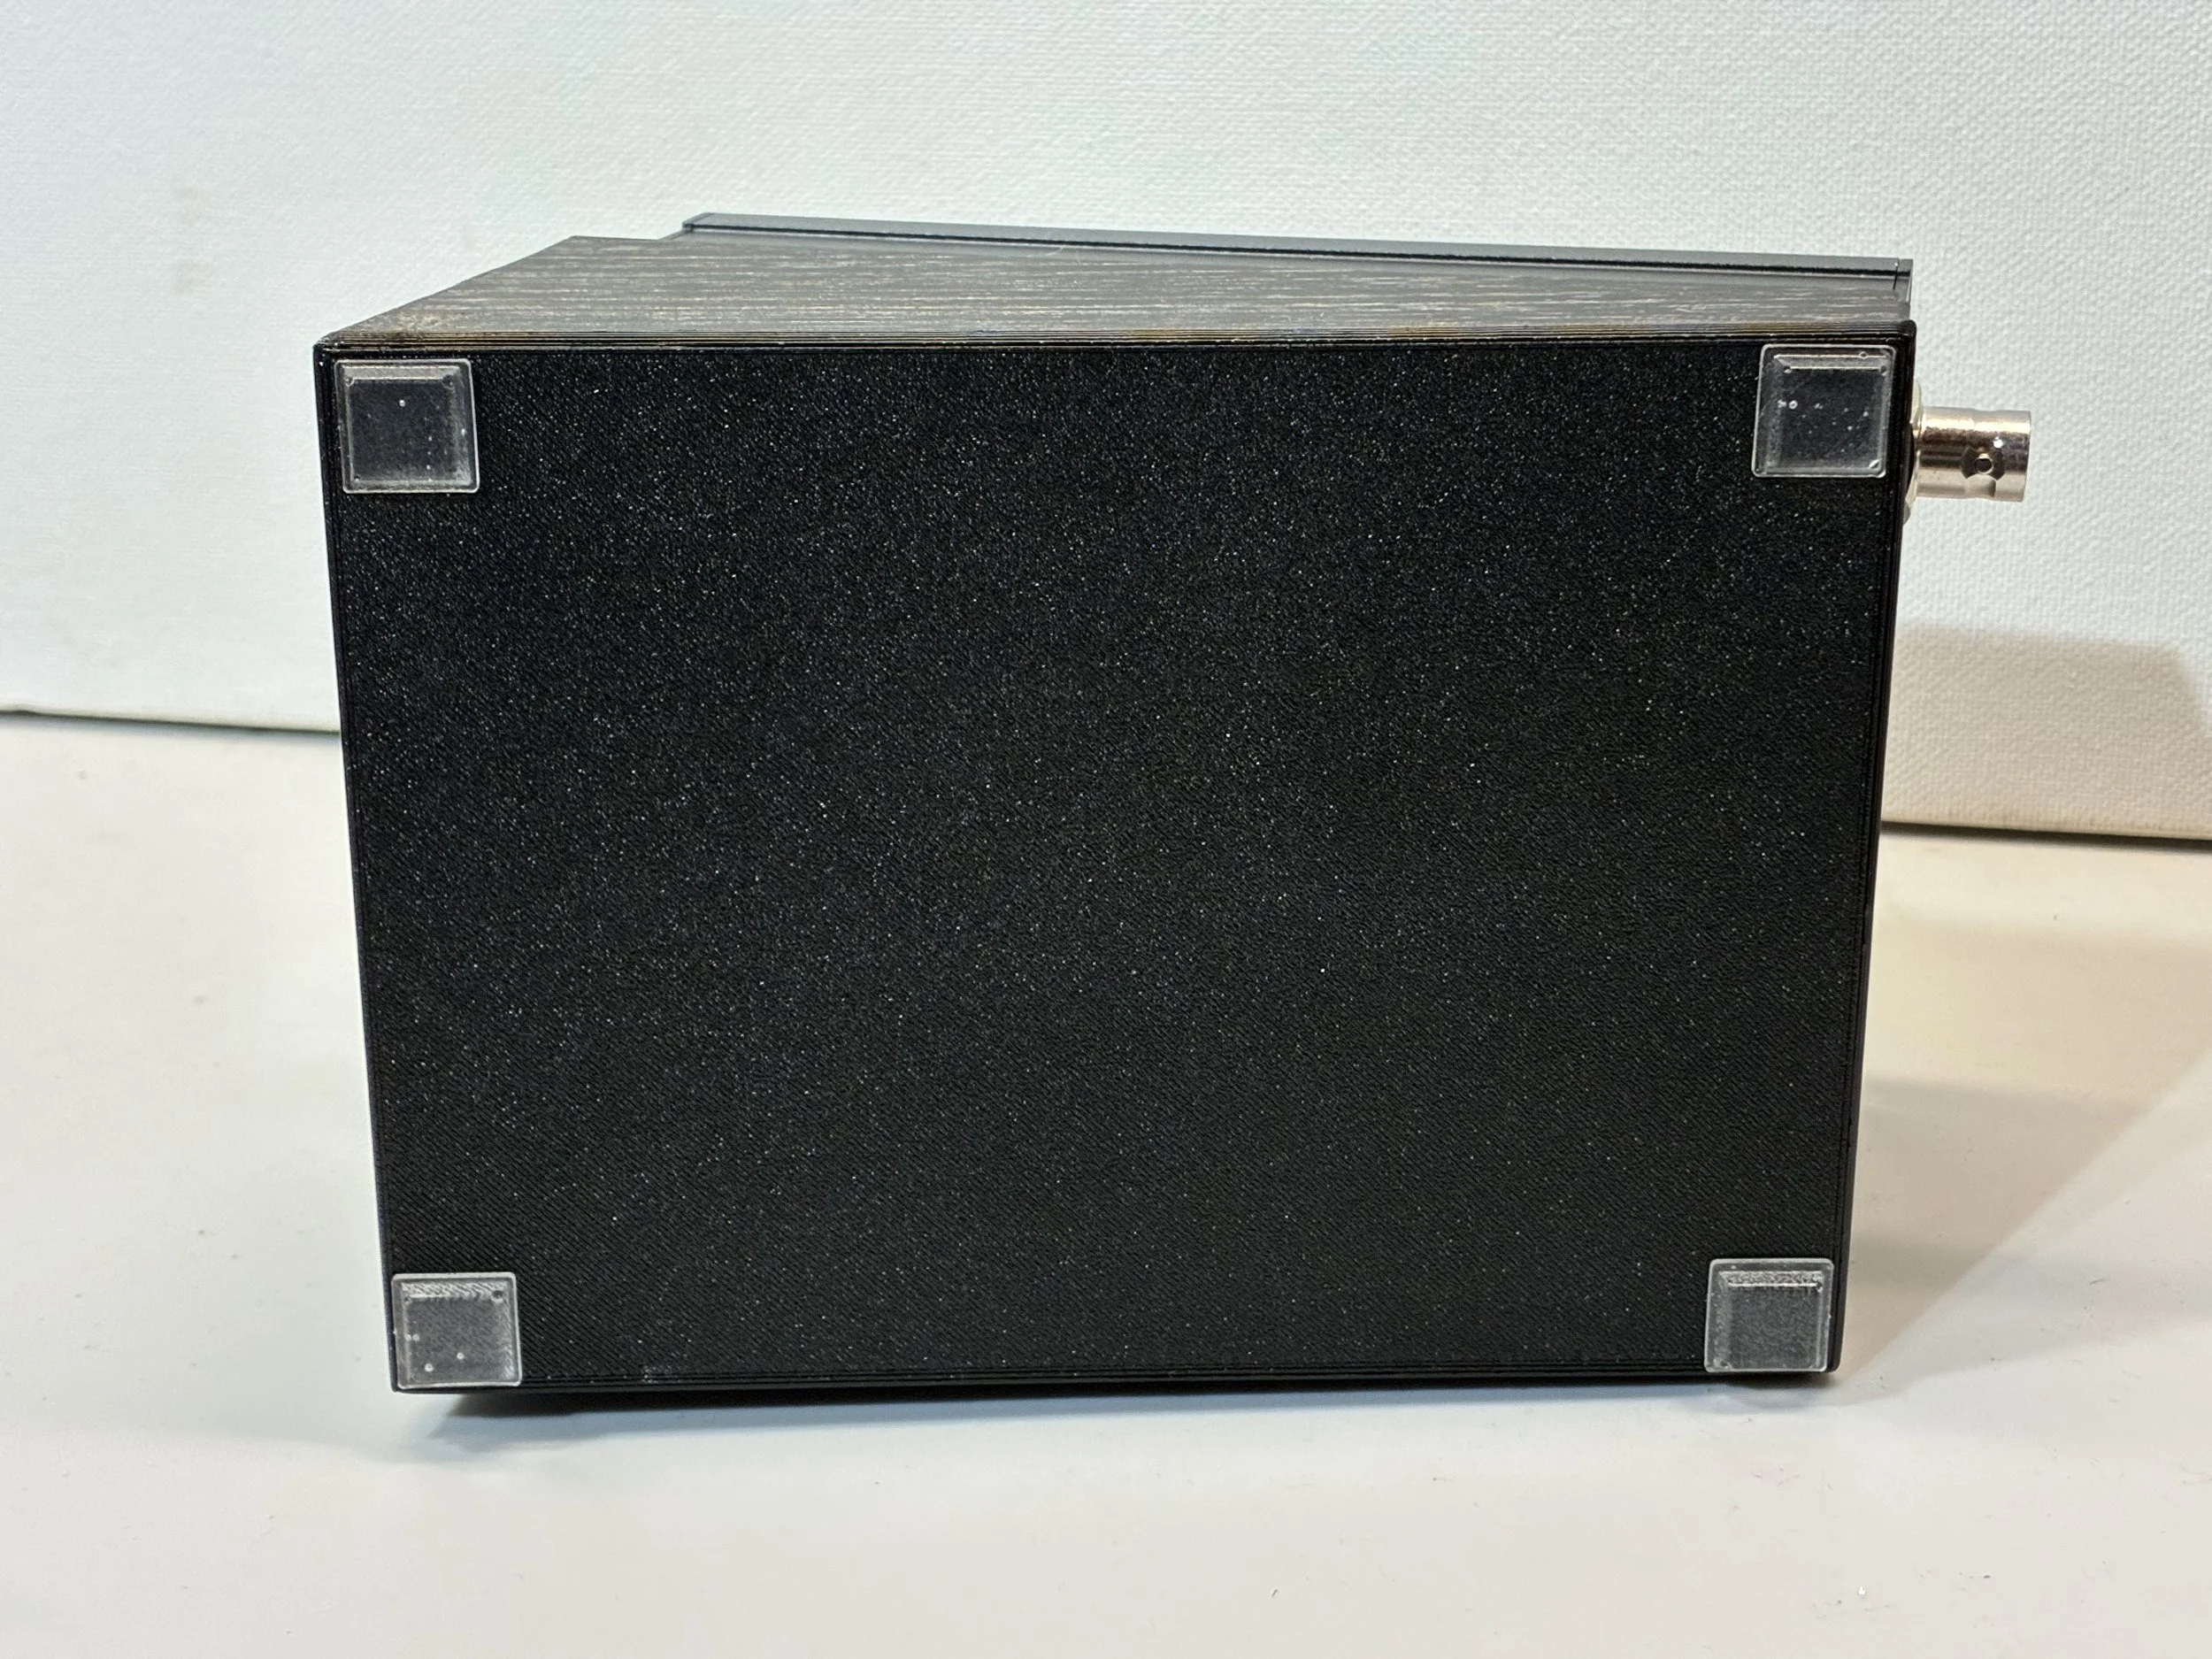
QMX+ transceiver and 18650 batteries shown or referenced are not included.
This listing is for the Battery & Audio Board Builder Kit only.
Please verify whether your QMX+ is configured for 9V or 12V operation before ordering.
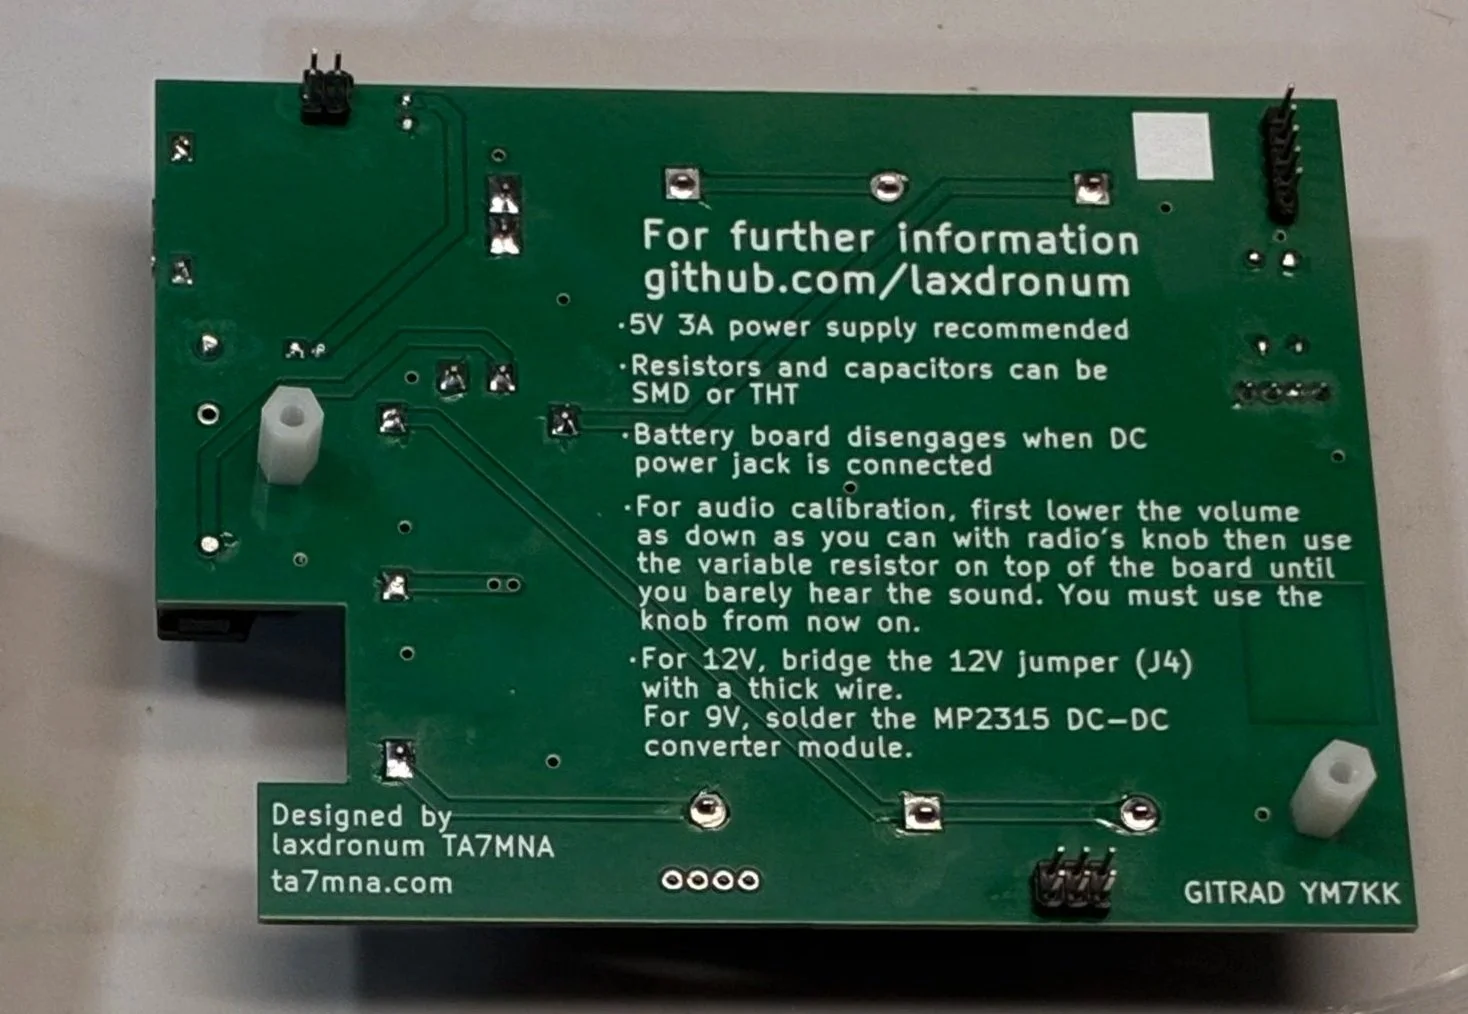
Set radio volume to minimum.
Adjust the LM386 board's variable resistor until audio is barely audible.
Use radio's volume knob for future control.
This step can be a bit tricky. First, you need to mount the board on top of the mainboard and secure it using 11 mm nylon hex spacers. Then, mark the backplate accordingly for drilling. Screwing the board in place ensures proper alignment and helps prevent mistakes.
On the first radio where I installed my board, I made the mistake of not aligning it properly — the charging port ended up slightly higher than the hole. Fortunately, it still works.
For the speaker, you can use either a 0.5W or 1W 8-ohm speaker. Small laptop speakers matching those values should work as well. Attached the speaker on top of the BMS using double-sided foam tape. When the enclosure is screwed down, the top cover presses against the speaker, holding it securely in place.
Since there is an RFI source inside the enclosure, some noise may occur in the 9V models. However, the 12V versions are free from battery board-induced noise, except during charging. Please keep this in mind when using it with 9V models.
In our tests with the 9V regulator, we observed that it caused QRM at certain frequencies. However, this noise was often at a lower level than QMX’s own birdies and was not disturbing. When we connected an antenna to the QMX and listened, the noise remained below the noise level coming from the antenna.
Upgrade your QRP Labs QMX+ with an integrated internal battery system and amplified speaker audio!
The QMX+ Internal Battery & Audio Board Builder Kit is based on the open-source QMX+ Battery & Audio Board project designed by TA7MNA (Mustafa Necati Annakkaya). The board mounts directly above the QMX+ main PCB and provides a compact way to add internal battery power, charging circuitry, battery management, and amplified speaker audio inside your QMX+.
CQ Homestead Supply packages the project as a convenient builder kit, eliminating the need to individually source the various supporting boards and installation components.
Two separate versions are available:
12V QMX+ Builder Kit Version 2
For QMX+ radios originally constructed for 12V operation.
9V QMX+ Builder Kit Version 2
For QMX+ radios originally constructed for 9V operation.
IMPORTANT: You must purchase the version that matches the voltage configuration of your QMX+. The 12V battery board must NOT be installed in a QMX+ configured for 9V operation. Applying the 12V battery system to a 9V-configured QMX+ can damage the radio.
Once assembled and properly installed, the Battery & Audio Board provides:
Internal rechargeable battery capability
Integrated battery management
USB Type-C battery charging
Internal amplified audio
Internal speaker capability
Direct mounting to the QMX+ main PCB
A compact installation designed specifically around the QMX+ platform
The result is a much more self-contained QMX+ that is especially convenient for portable operation, POTA, field use, emergency communications, and grab-and-go QRP operation.
Our 0% kit is intended for builders who want to complete this modification themselves without having to track down the various small boards and installation components individually.
The kit includes the Battery & Audio main PCB along with the additional supporting boards/modules and installation hardware/components supplied by CQ Homestead Supply for completion of the modification.
Our 95% kit has the add on board completely assembled. End user completes the soldering and instalation into the QMX+ Radio.
All kits include a small speaker, that is installed by the end user.
To aid in locating the USB C port that needs to be cut in the rear pannel, CQHS provide a self alinging plastic template that locates the opening for easy drilling and filing by the end user. A 3mm or 1/8” drill is needed and not supplied. To finish the opening, small files are needed such as the Harbor Freight 4614 file set. Youtube How To Video: https://youtu.be/pv2CbtIN7ZQ
18650 lithium-ion batteries are NOT included.
Intermediate
This is not a plug-and-play accessory.
Installation requires the builder to work inside the QMX+, assemble the Battery & Audio Board, solder components and modules, install headers and connections, and perform final inspection and testing.
Builders should be comfortable with:
Through-hole soldering
Basic electronic assembly
Working with PCB headers and small modules
Reading assembly instructions and PCB markings
Checking polarity and connections with a multimeter
Working safely with lithium-ion batteries
Modifying and working inside an assembled QMX+
Minor metal working skills
Careful assembly and inspection are particularly important because incorrect battery polarity, incorrect wiring, or selecting the wrong voltage version can damage the QMX+.
The internal battery system uses three 18650 lithium-ion non-protected cells.
Batteries are not included with this kit.
The builder is responsible for obtaining appropriate matching 18650 cells and installing them with the correct polarity. Only quality cells from a reputable supplier should be used.
The modification provides a dedicated USB Type-C connection for charging the internal battery pack.
The QMX+'s existing USB Type-C connector remains the radio's data connection and is not used to charge the internal battery pack.
Follow the project documentation carefully regarding charging, external DC power, battery installation, and power-down procedures. Always power off the QMX+ before connecting or disconnecting the DC power supply. Inserting or removing the DC jack while the battery board is installed can trigger a voltage transient as power switches over, which risks damaging the mainboard's voltage regulators.
This product is supplied specifically as an amateur-radio builder kit.
CQ Homestead Supply does not install this modification into your radio as part of this product listing. Final assembly, installation, inspection, testing, and safe operation are the responsibility of the builder.
Always completely power down the QMX+ before connecting or disconnecting external DC power as directed by the project documentation.
Before applying power, double-check:
QMX+ voltage configuration
Battery polarity
BMS connections
Charger connections
PCB orientation
Header alignment
Solder joints
Speaker/audio connections
Never install the 12V version into a QMX+ configured for 9V operation.
The QMX+ Battery & Audio Board was designed by and with permission of TA7MNA / Mustafa Necati Annakkaya and released as an open-source project for the amateur-radio community.
CQ Homestead Supply is providing a convenient builder-kit package based on this project. The original designer's identification and board markings are retained—we do not rebrand the project as our own design.
Project documentation, design information, assembly information, and updates are available from the original QMX+ Battery & Audio Board GitHub repository.
Please review the original project documentation before beginning assembly.
QMX+ transceiver and 18650 batteries shown or referenced are not included.
This listing is for the Battery & Audio Board Builder Kit only.
Please verify whether your QMX+ is configured for 9V or 12V operation before ordering.
Set radio volume to minimum.
Adjust the LM386 board's variable resistor until audio is barely audible.
Use radio's volume knob for future control.
This step can be a bit tricky. First, you need to mount the board on top of the mainboard and secure it using 11 mm nylon hex spacers. Then, mark the backplate accordingly for drilling. Screwing the board in place ensures proper alignment and helps prevent mistakes.
On the first radio where I installed my board, I made the mistake of not aligning it properly — the charging port ended up slightly higher than the hole. Fortunately, it still works.
For the speaker, you can use either a 0.5W or 1W 8-ohm speaker. Small laptop speakers matching those values should work as well. Attached the speaker on top of the BMS using double-sided foam tape. When the enclosure is screwed down, the top cover presses against the speaker, holding it securely in place.
Since there is an RFI source inside the enclosure, some noise may occur in the 9V models. However, the 12V versions are free from battery board-induced noise, except during charging. Please keep this in mind when using it with 9V models.
In our tests with the 9V regulator, we observed that it caused QRM at certain frequencies. However, this noise was often at a lower level than QMX’s own birdies and was not disturbing. When we connected an antenna to the QMX and listened, the noise remained below the noise level coming from the antenna.